
Danish Emery Mills & StonesLeading Exporters of Danish Emery Mills & Stones |
Danish Emery Mills & StonesLeading Exporters of Danish Emery Mills & Stones |
Danish Emery Mills & StonesLeading Exporters of Danish Emery Mills & Stones |
Danish Emery Mills & StonesLeading Exporters of Danish Emery Mills & Stones |

Select Your Choice
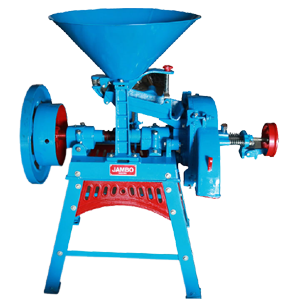
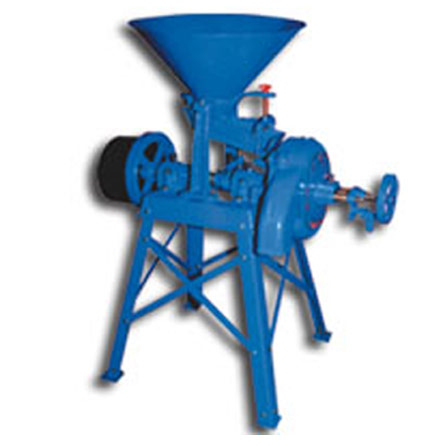
OPERATION OF THE MILL GRINDING MILL
The Mill is fitted with two controls for adjusting the output and the fineness of the ground material i.e. THE REGULATING WHEEL and THE FEED CONTROL SCREW.
THE REGULATING WHEEL is for adjusting the distance between the plates to achieve the required fineness. On starting the mill the regulating Wheel should be turned clockwise until the plates just touch. The setting for the material being ground is then made by turning the wheel a few notches either way, the wheel being locked in this position by the click.
THE FEED CONTROL SCREW is for regulating the rate of flow of material by adjusting the angle of the feed hopper. The ground material will vary with the feed rate as well as with the adjustment of the plates. If a fine ground material is required a low feed rate should be.
The nut on the Feed Control Screw should be locked with the wing nut after setting. If it is required to stop the flow of material, the Feed Control Screw can be lifted up and the cross pin engaged in the slot provided to hold it in the off position.
GRINDING DRY MATERIAL Start the mill and adjust the regulating wheel until the plates just touch. Feed the material into the plates. After the required setting, close the plates two or three notches. Adjust the Feed Control until the required fineness is obtained. If the sample is not fine enough, close the plates further two or three notches; if the Click Holder which carries the Regulating wheel open away from the front, tighten the springs so that the click holder closes.
IMPORTANT Before closing the plates the material to be ground must be fed into the plates and the plates must be opened before shutting off the feed to prevent the plates being damaged by running together.
KIBBLING Start the mill and adjust the Regulating Wheel until the plates just touch. Open the plates a few notches. Adjust the feed to give required fineness. A high output of kibbled material will be obtained.
GRINDING WET MAIZE Start the mill and adjust the Regulating Wheel until the plates just touch Open the plates one or two notches. Adjust the feed to give required fineness.
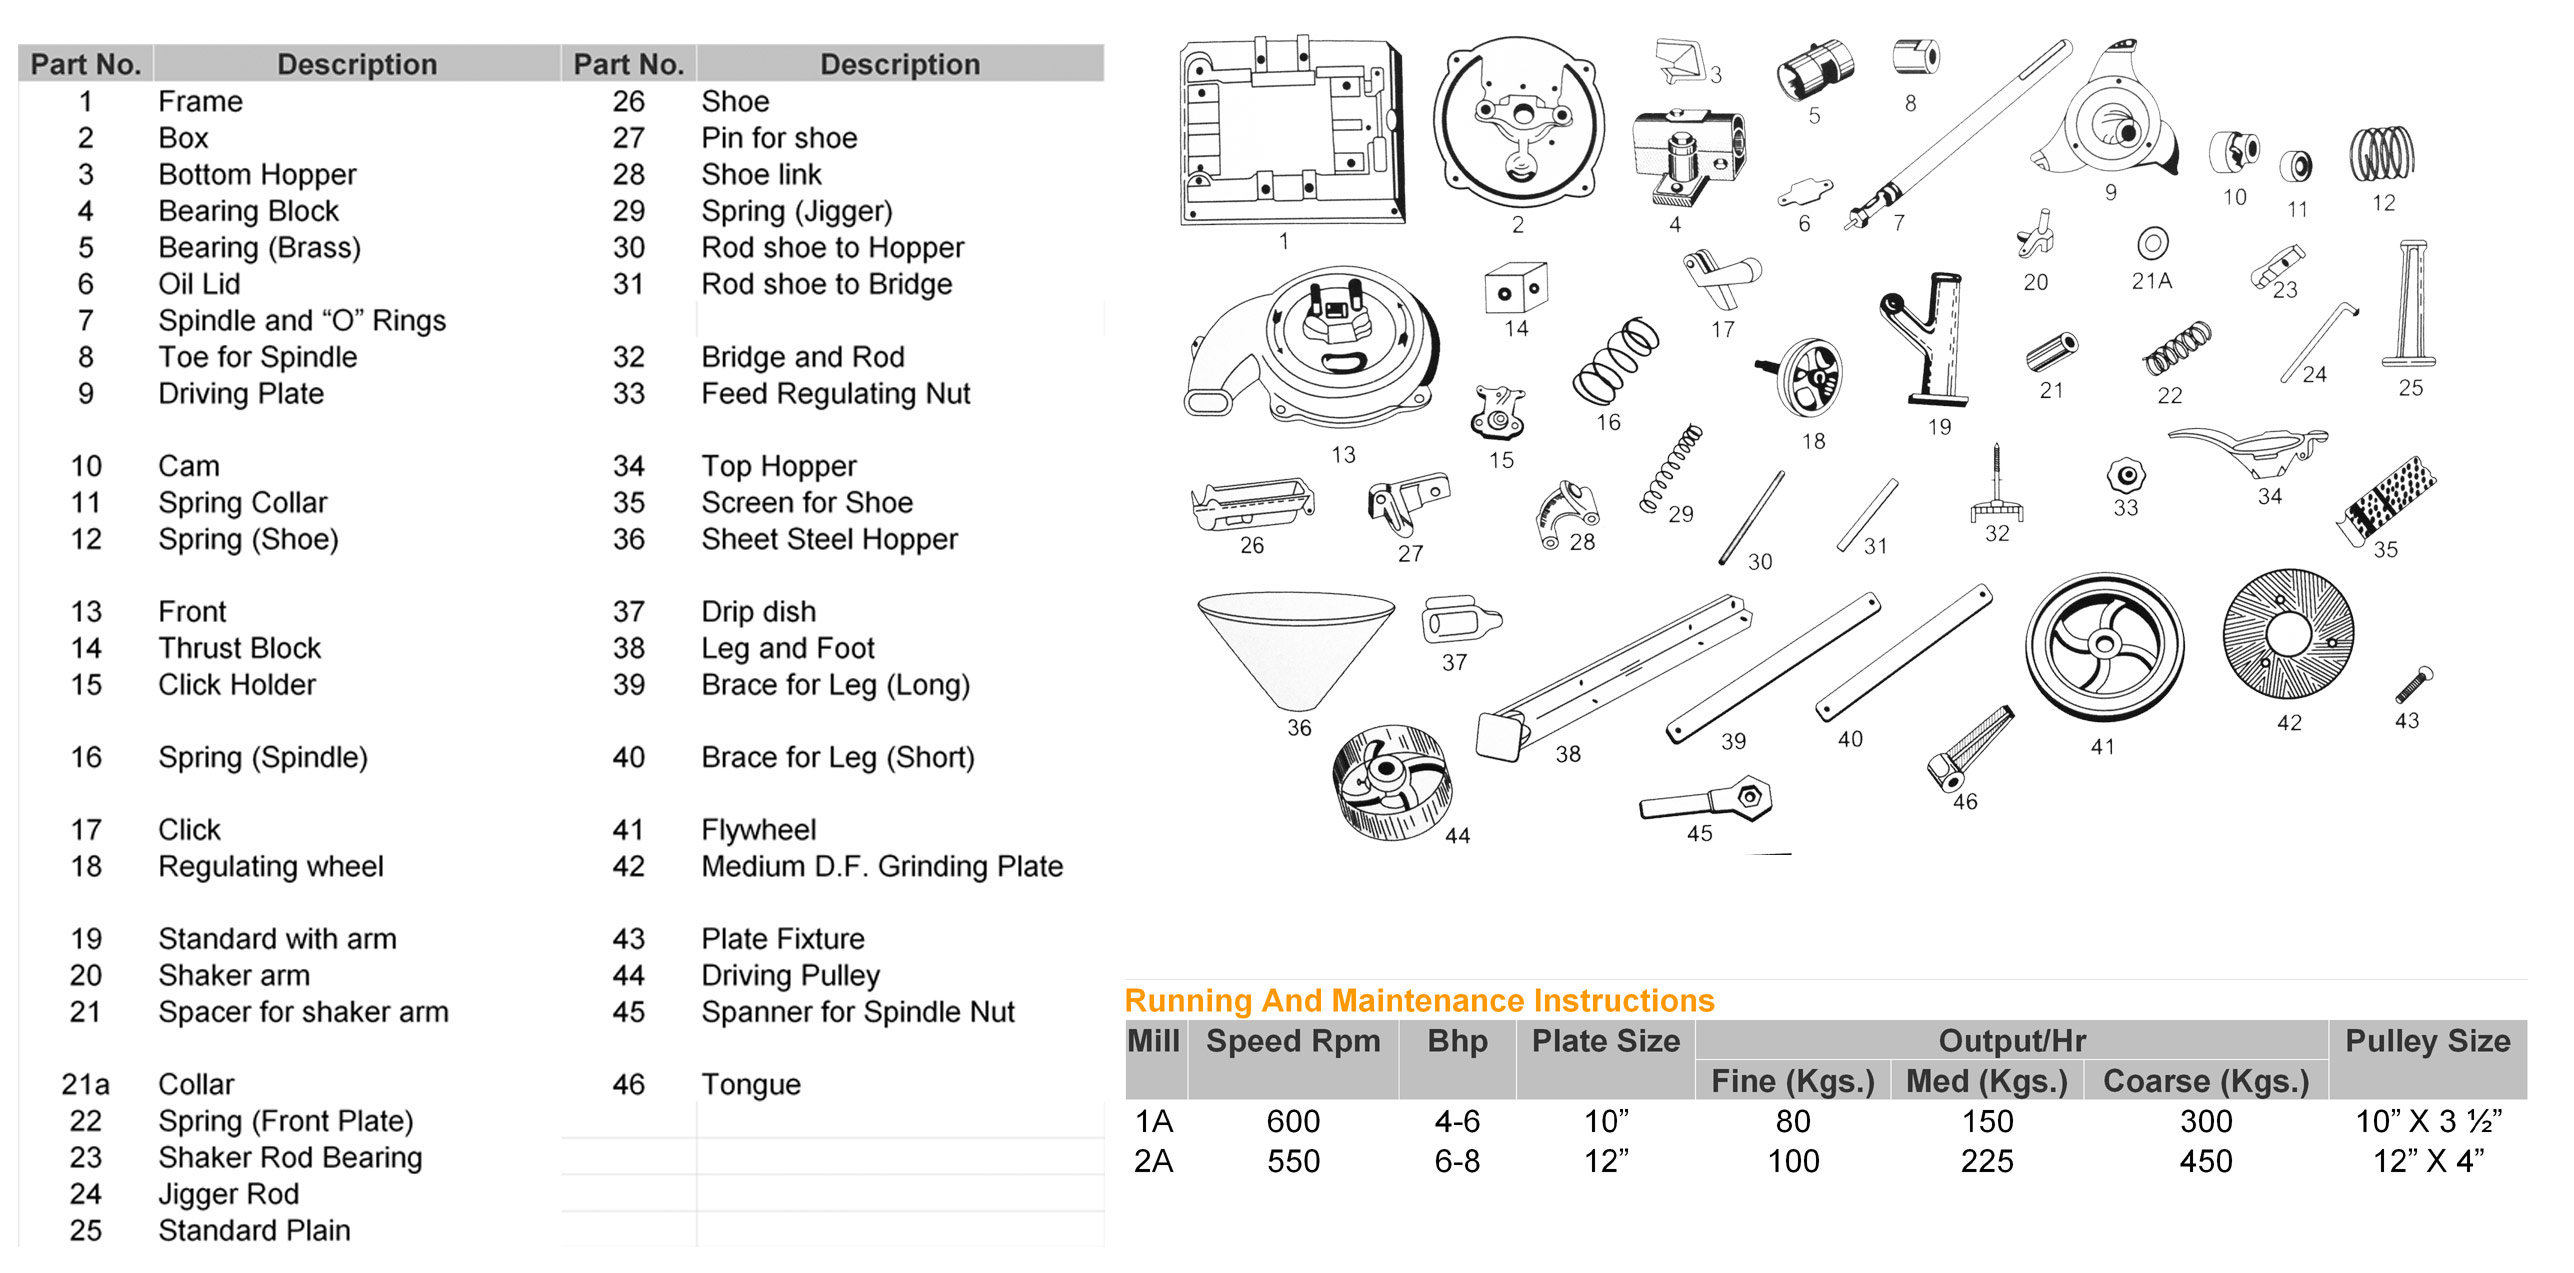
1.Grinding Mill 1A
1.Grinding Mill 1A
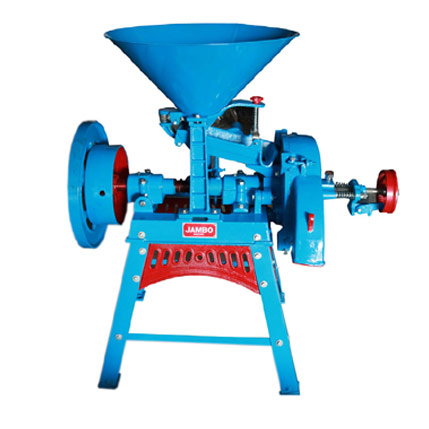
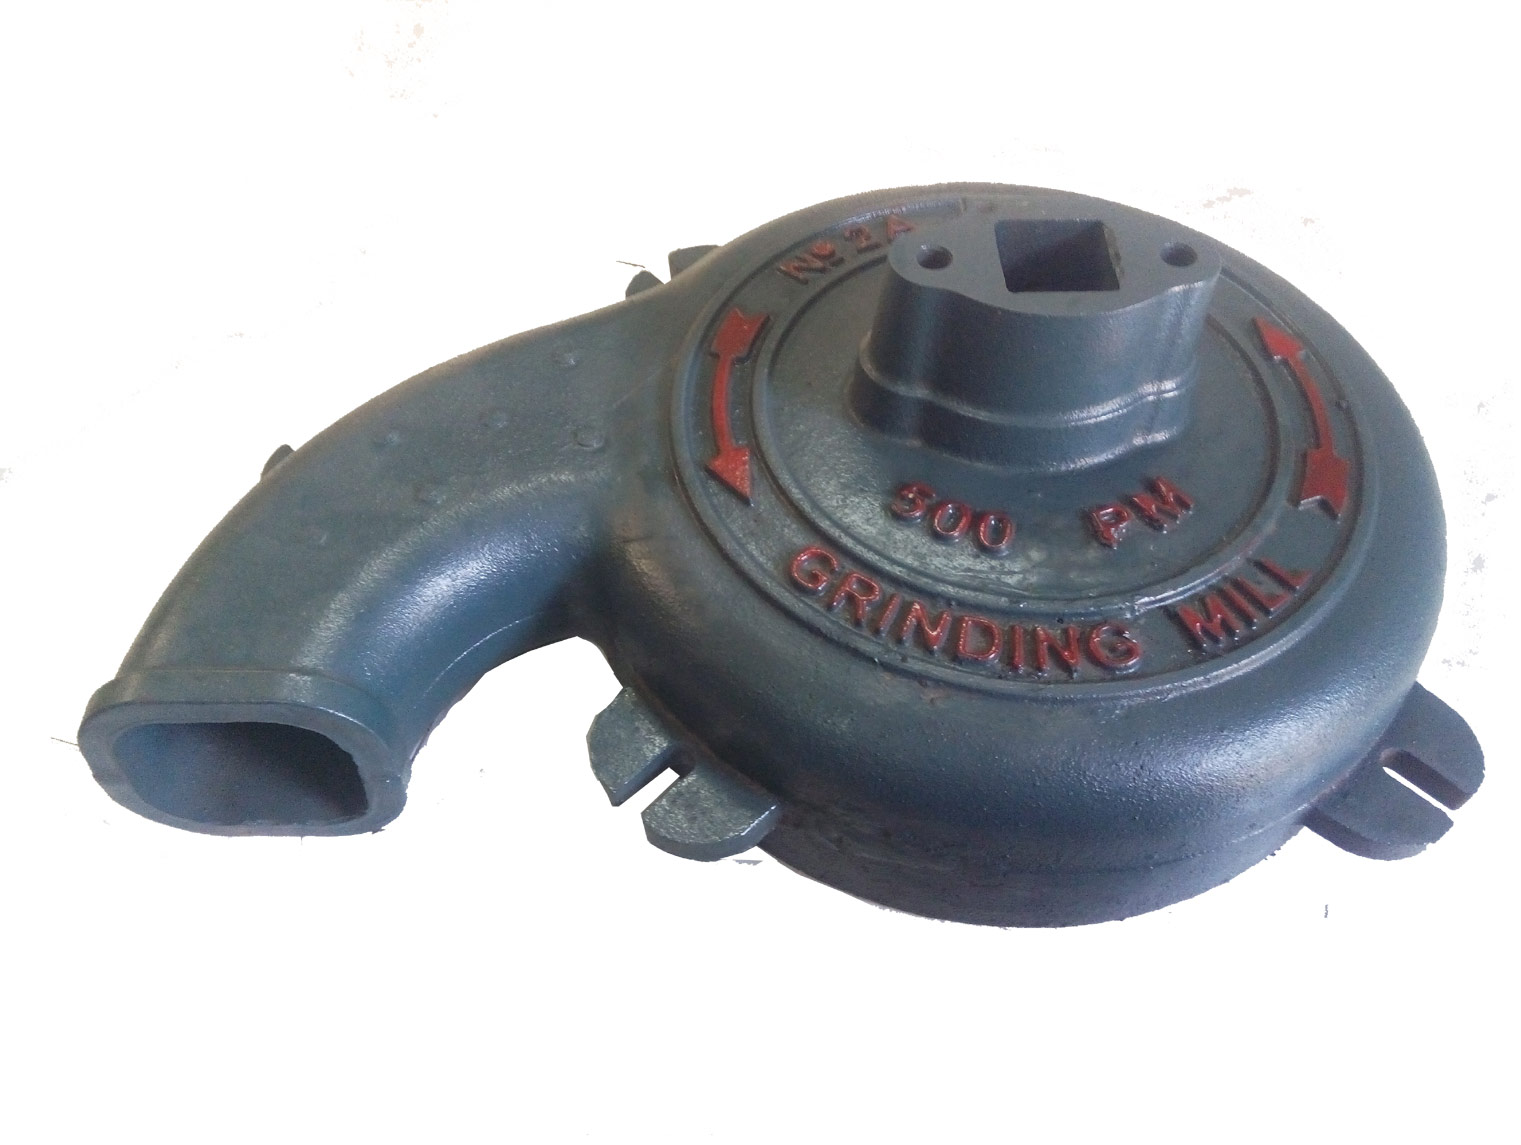
2.Grinding Mill 2 A
2.Grinding Mill 2 A
3.Box 1A
3.Box 1A
4.Box 2A Plain
4.Box 2A Plain
5.Box 2A Hook Type
5.Box 2A Hook Type
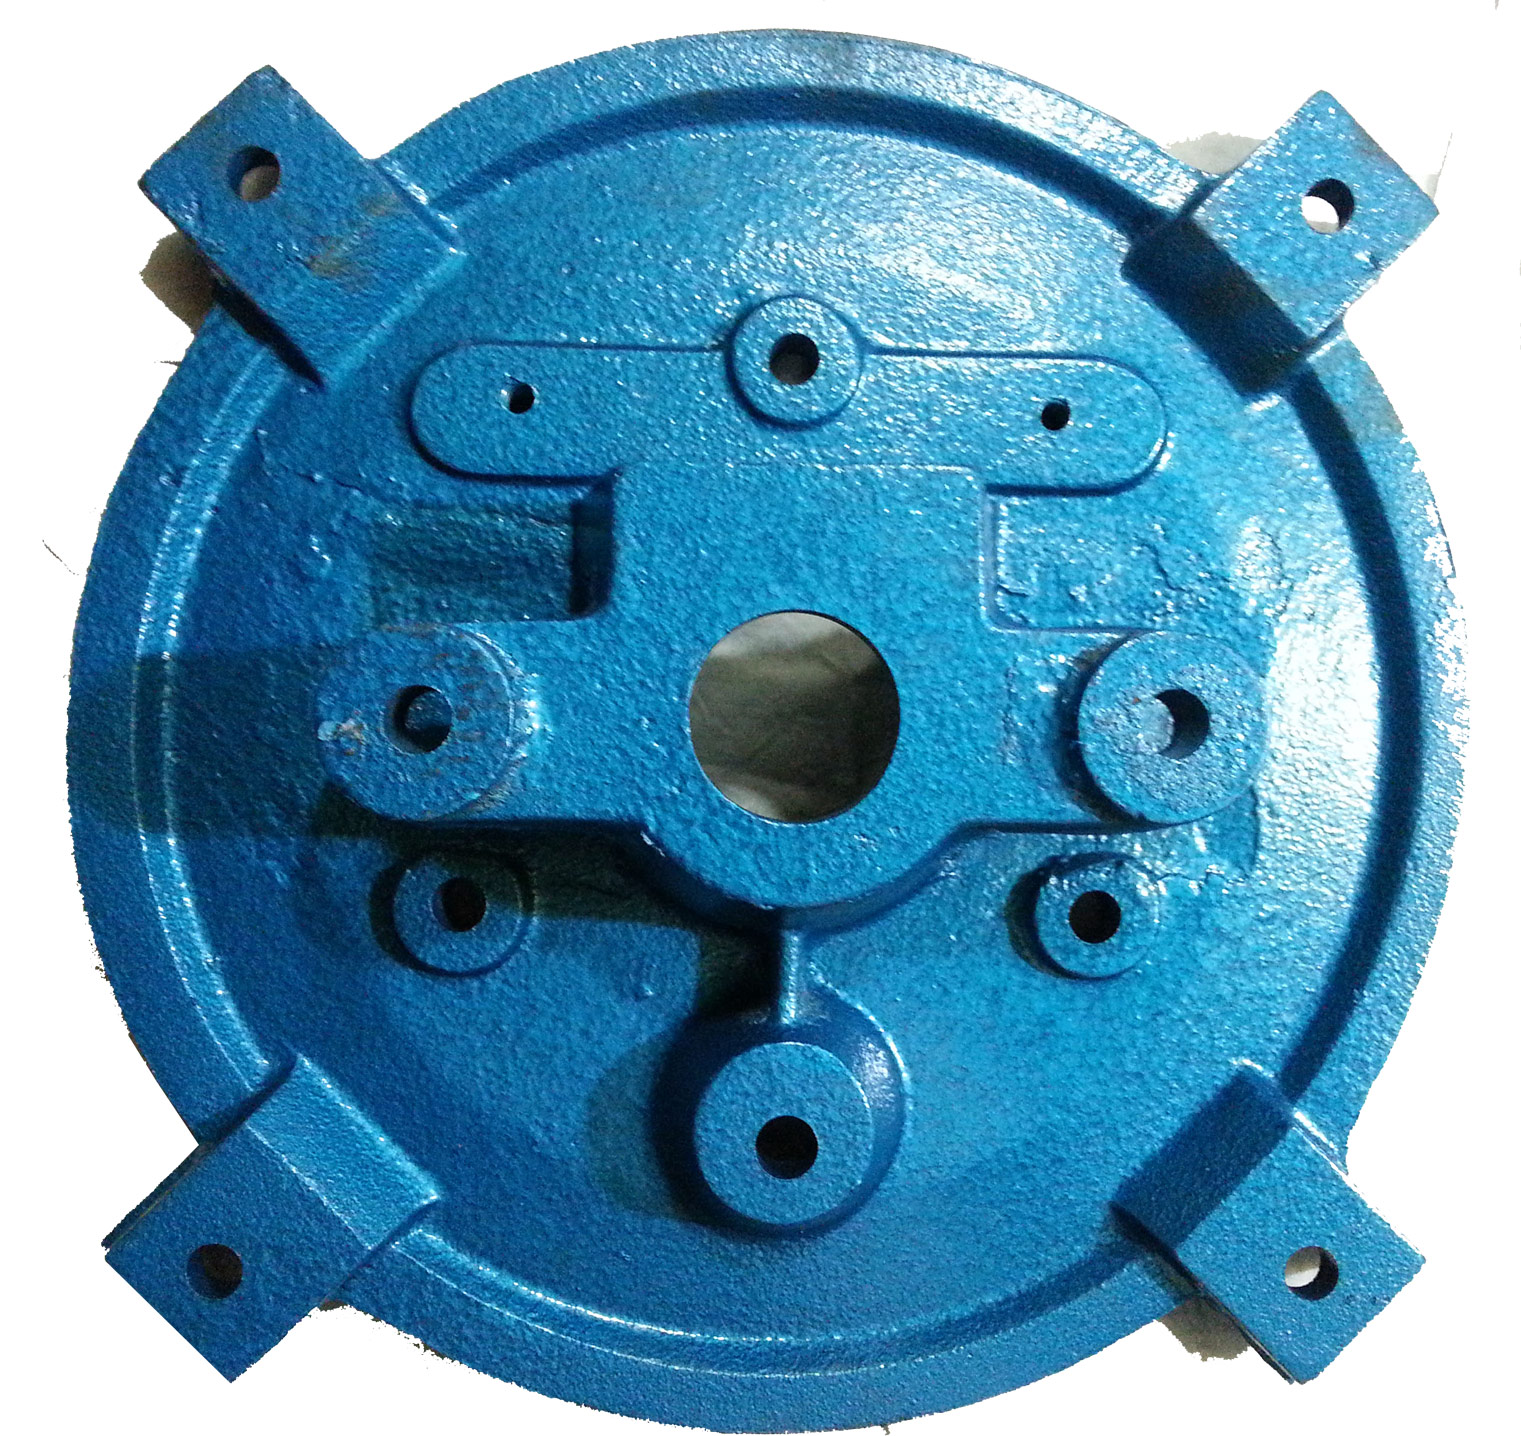
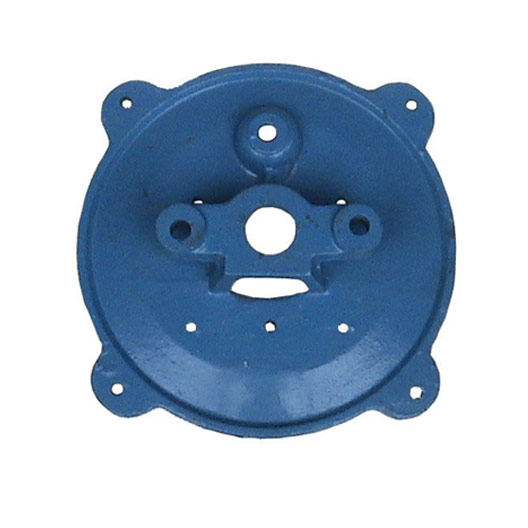
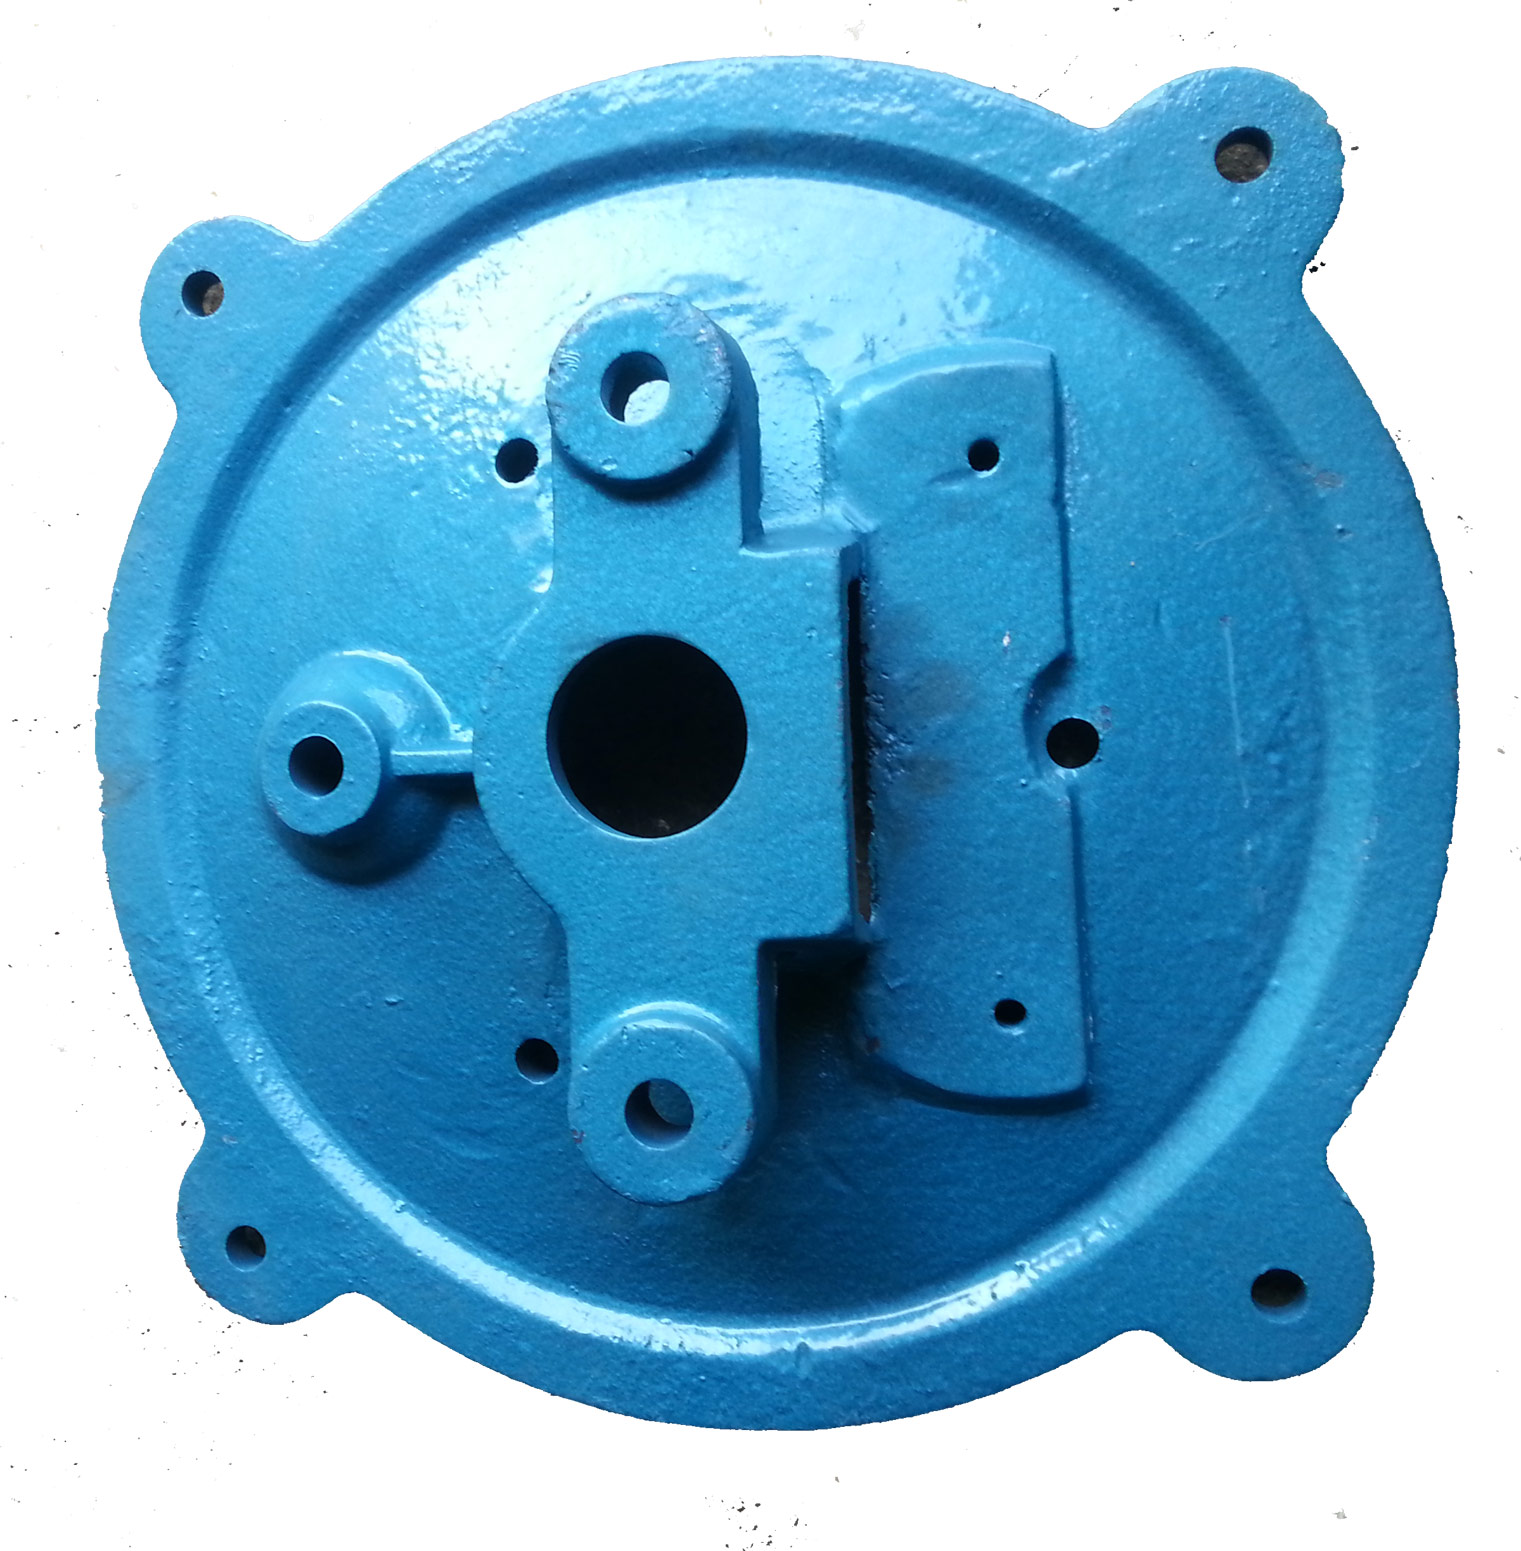
6.Front 1A&2A
6.Front 1A&2A
7. Brass Bearing 1A
7. Brass Bearing 1A
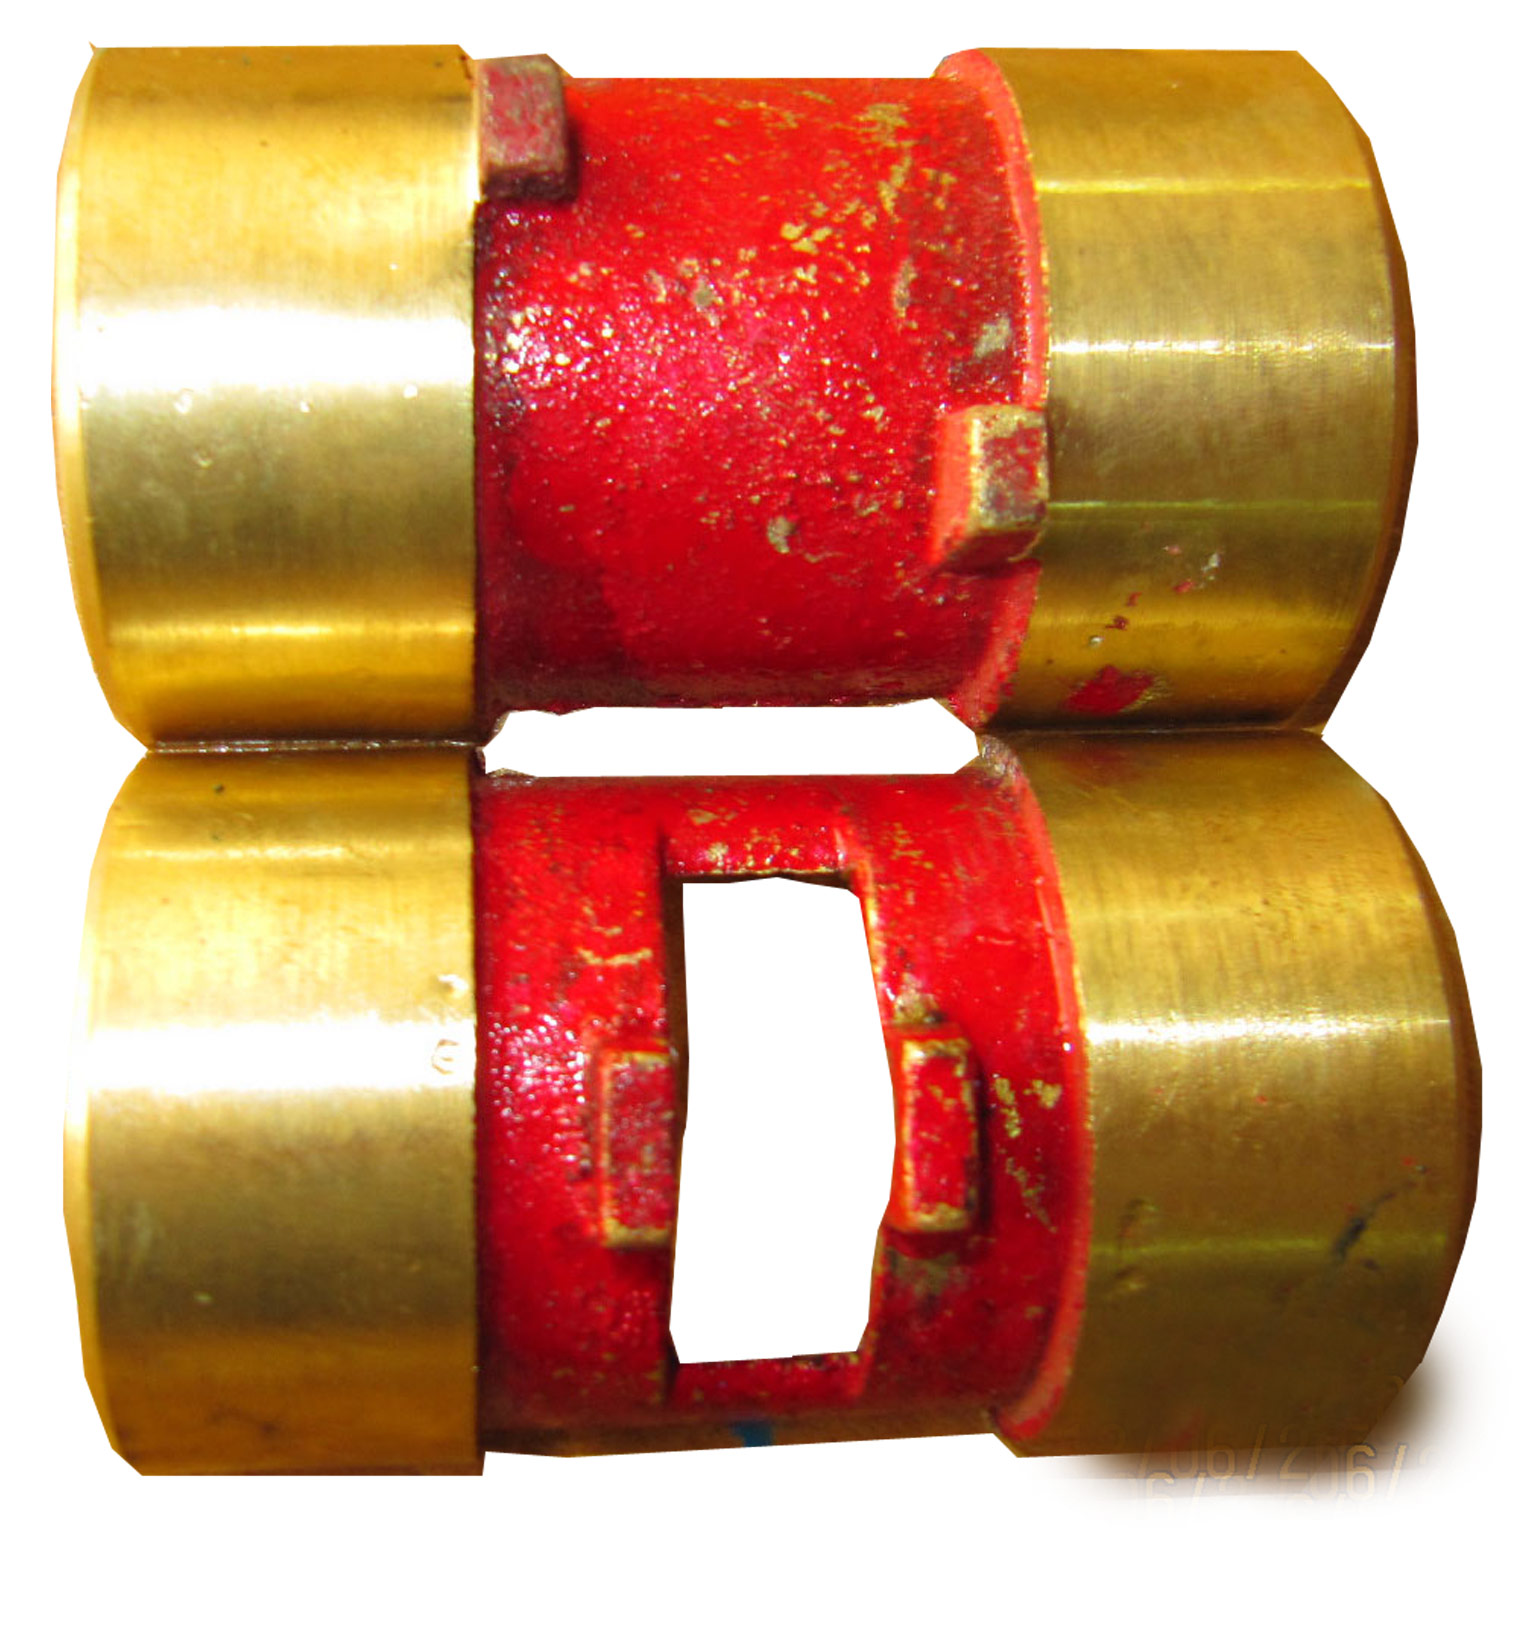
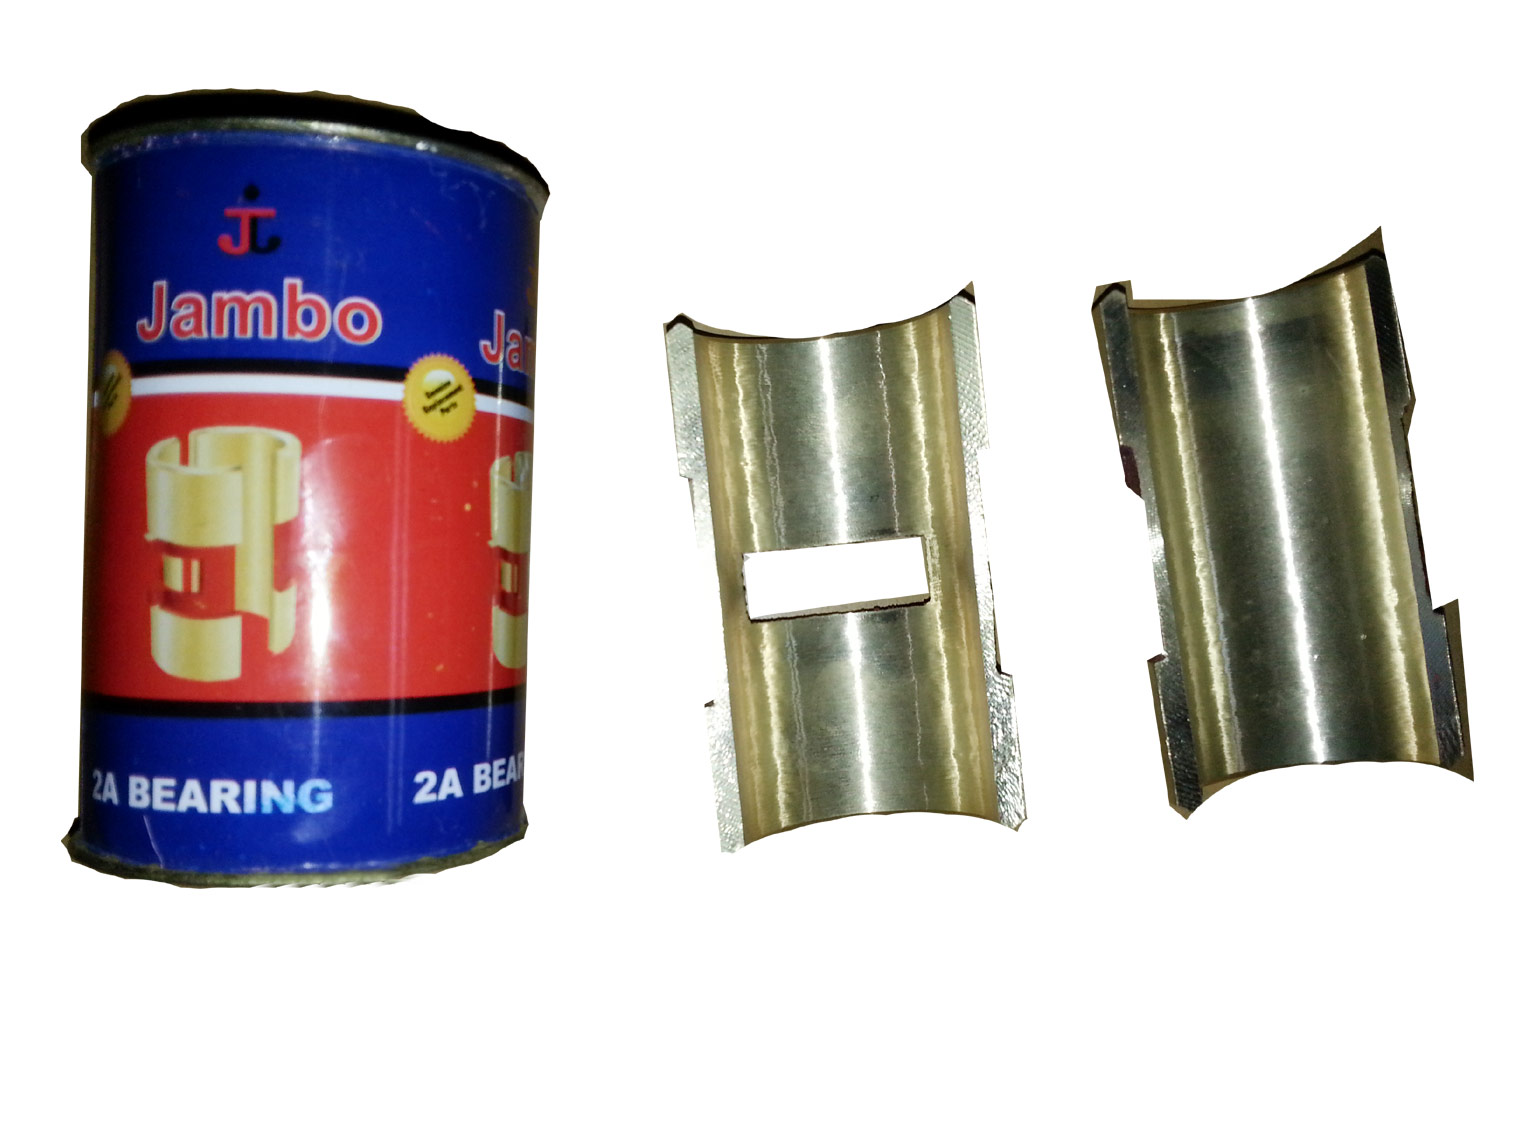
8. Brass Bearing 2A
8. Brass Bearing 2A
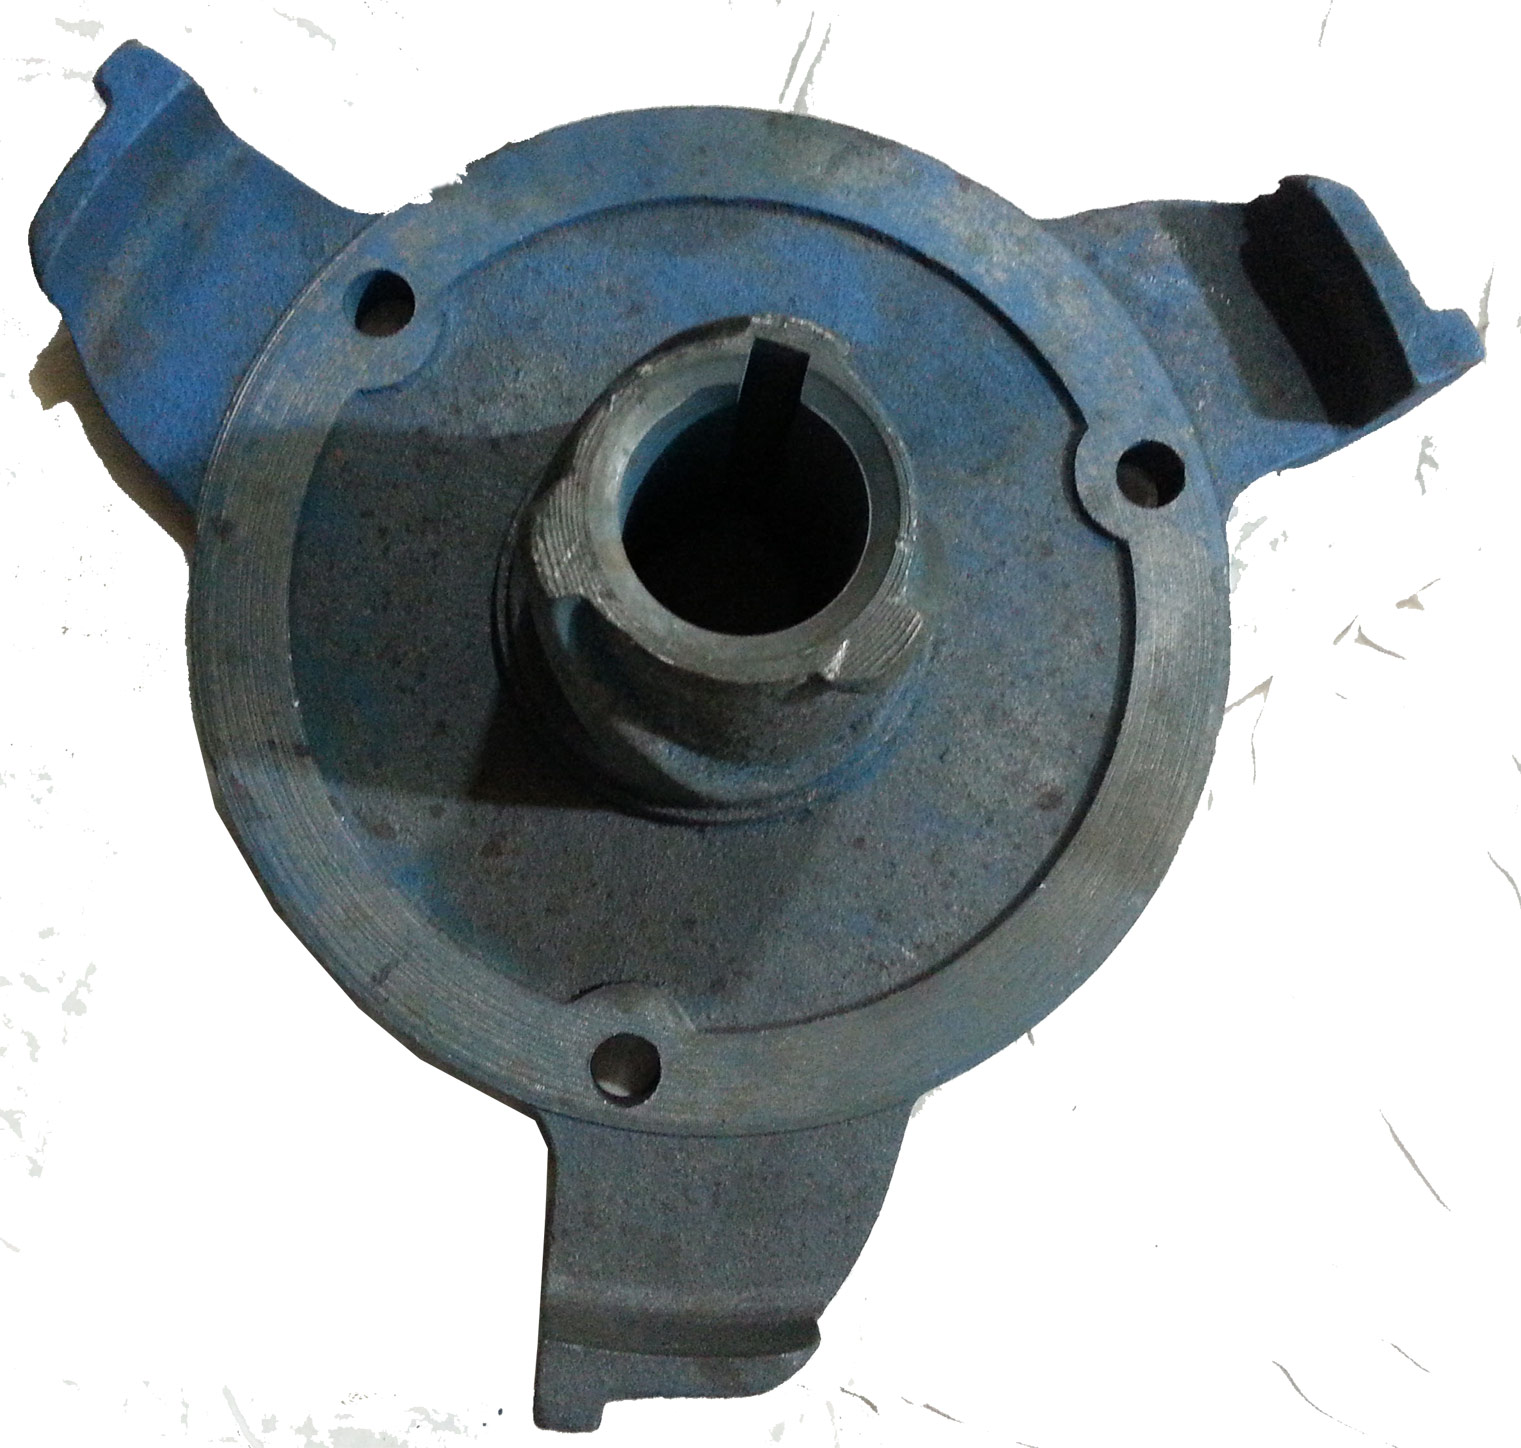
9. Driving Plate 1A
9. Driving Plate 1A
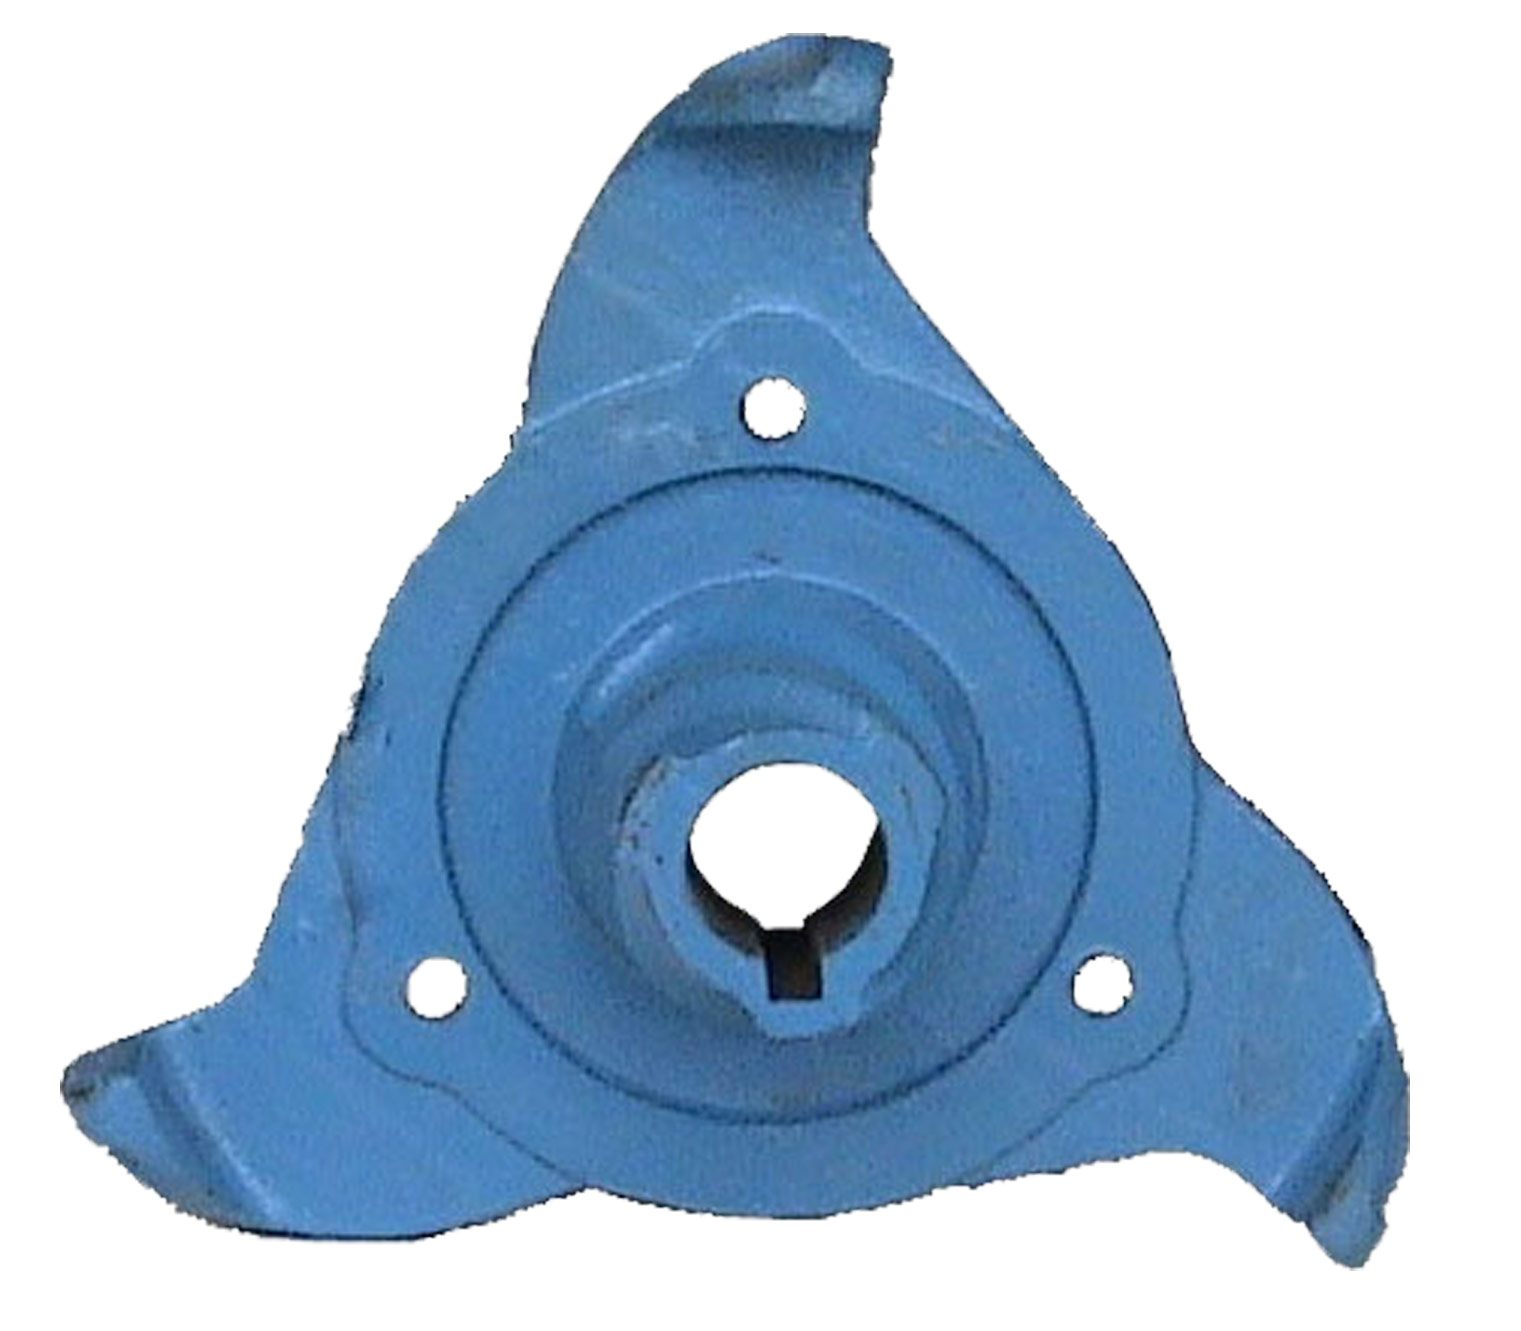
10.Driving Plate 2A
10.Driving Plate 2A
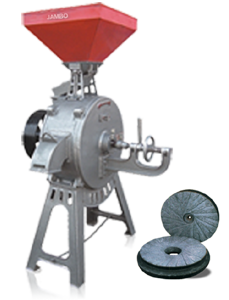
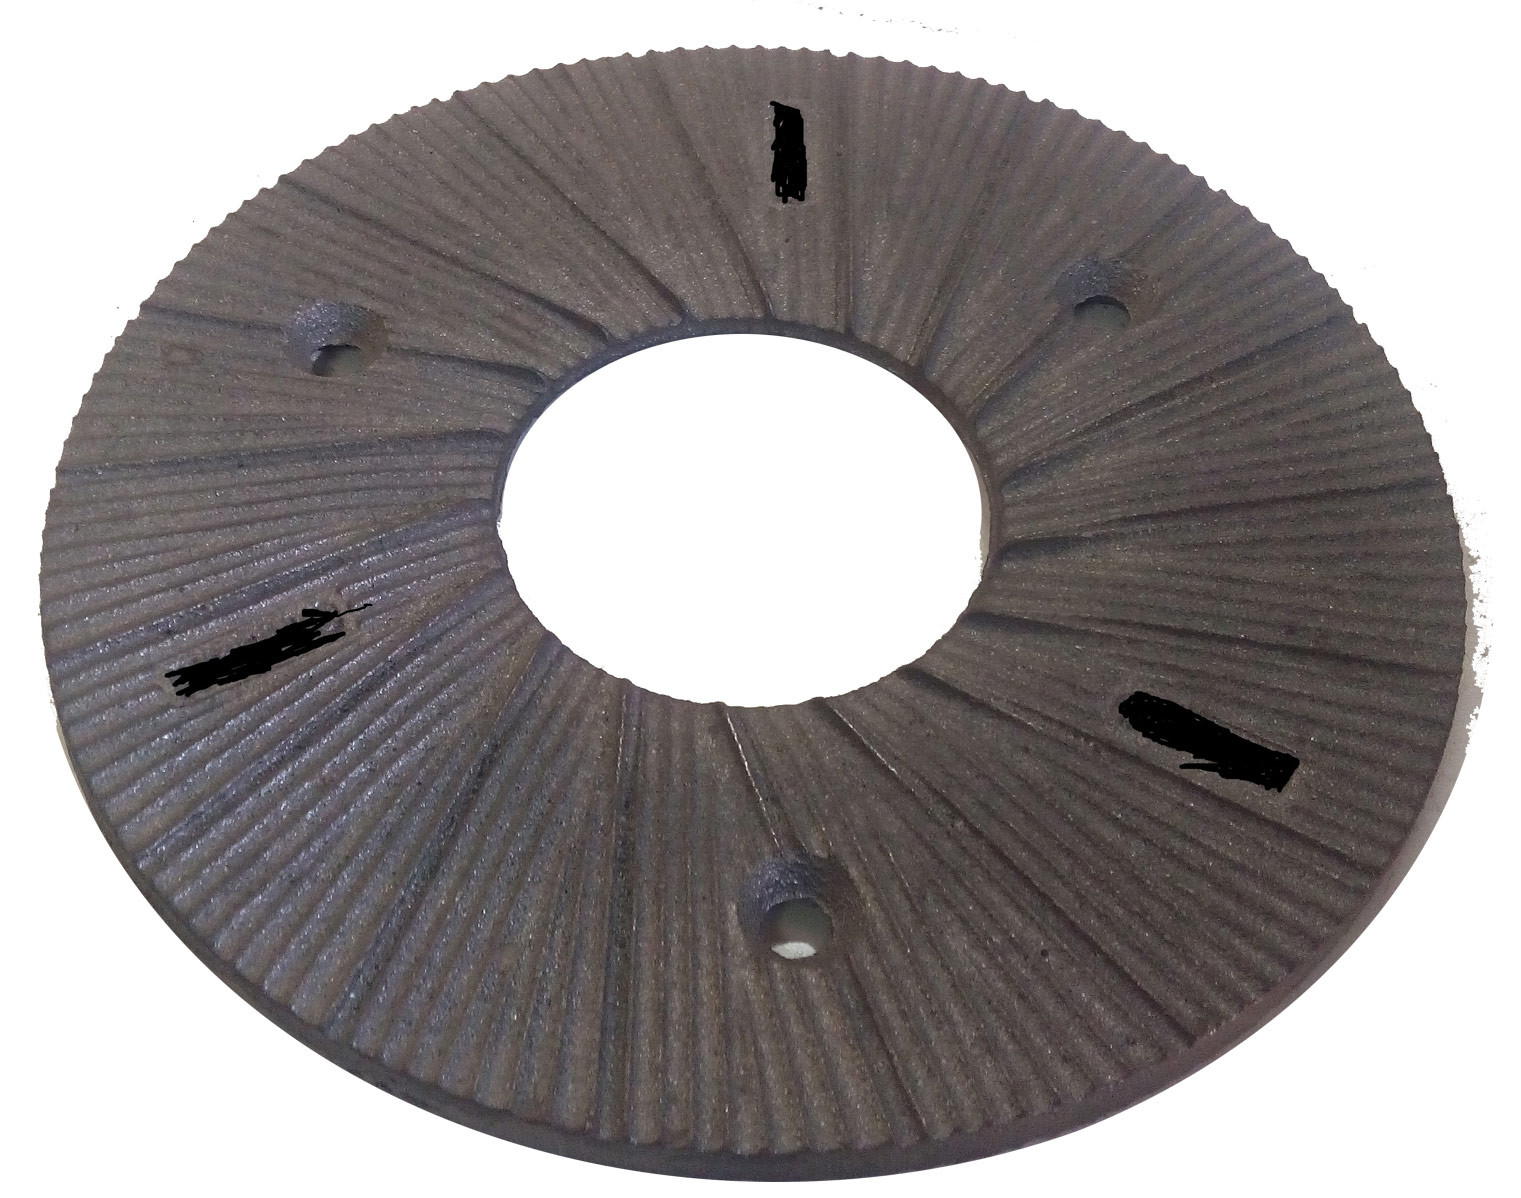
11.Grinding Plate 1A
11.Grinding Plate 1A
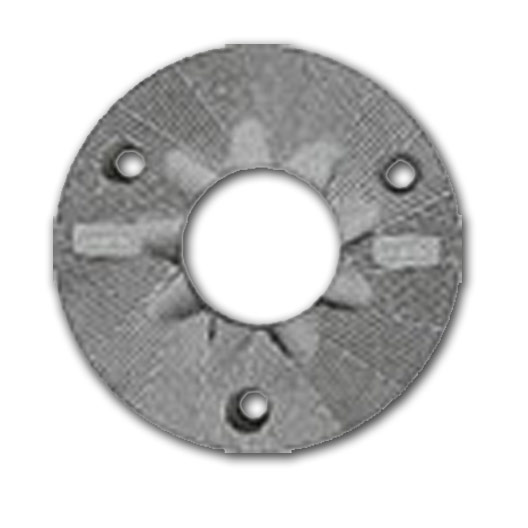
12.Grinding Plate 2A
12.Grinding Plate 2A
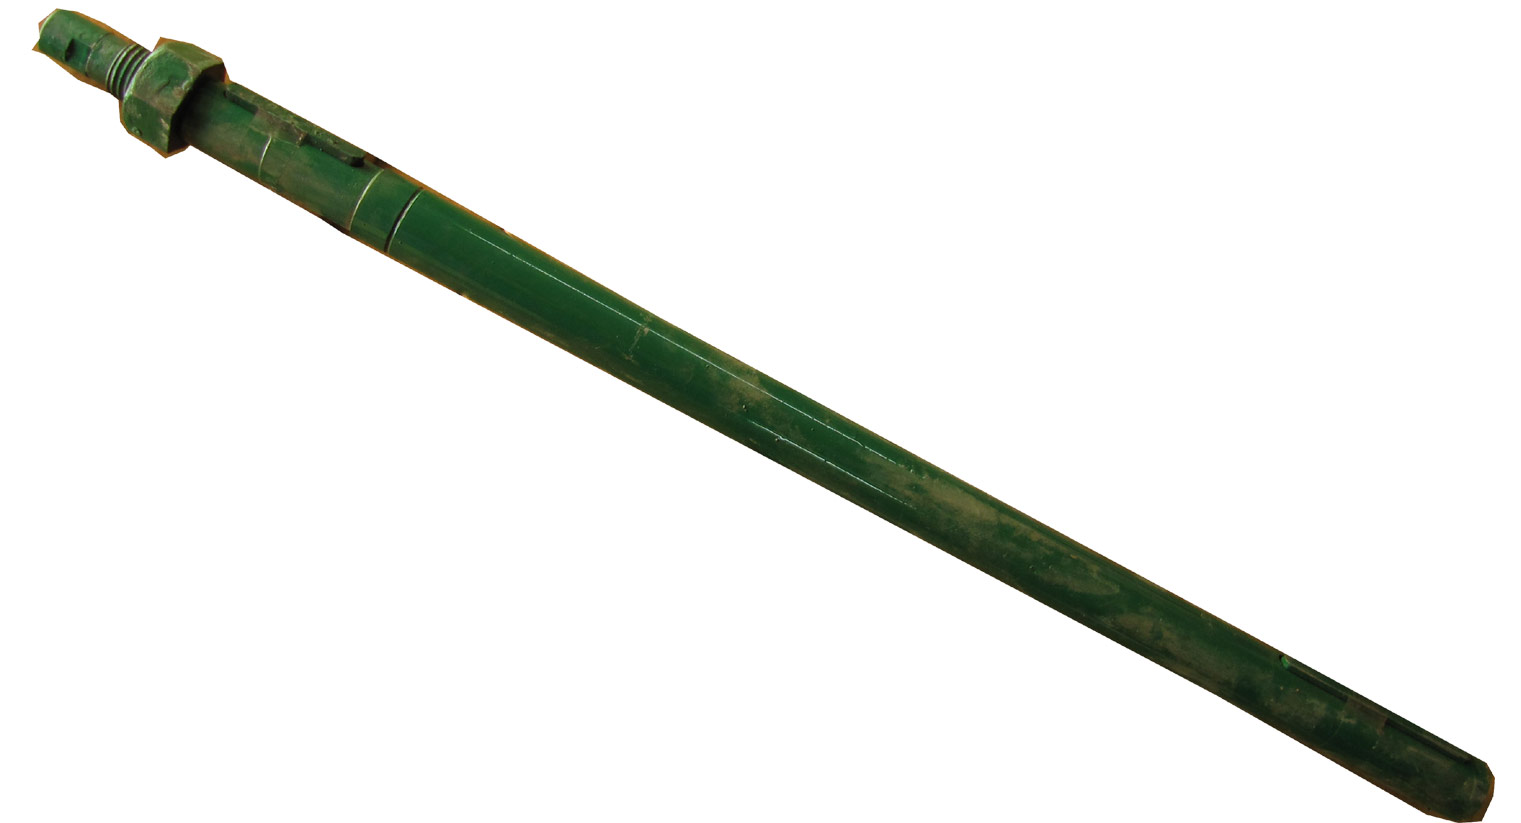
13.Shaft (Spindle )1A 33 inch
13.Shaft (Spindle )1A 33 inch
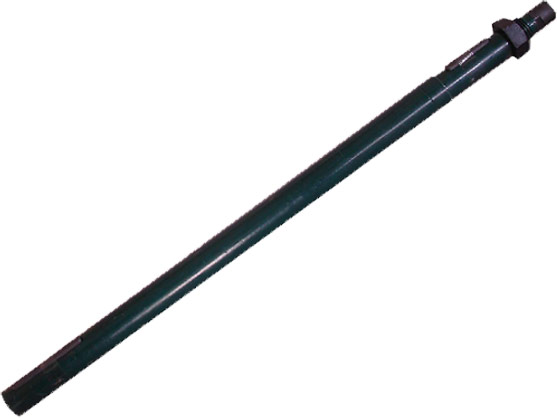
14.Shaft (Spindle)2A 37.5inch
14.Shaft (Spindle)2A 37.5inch
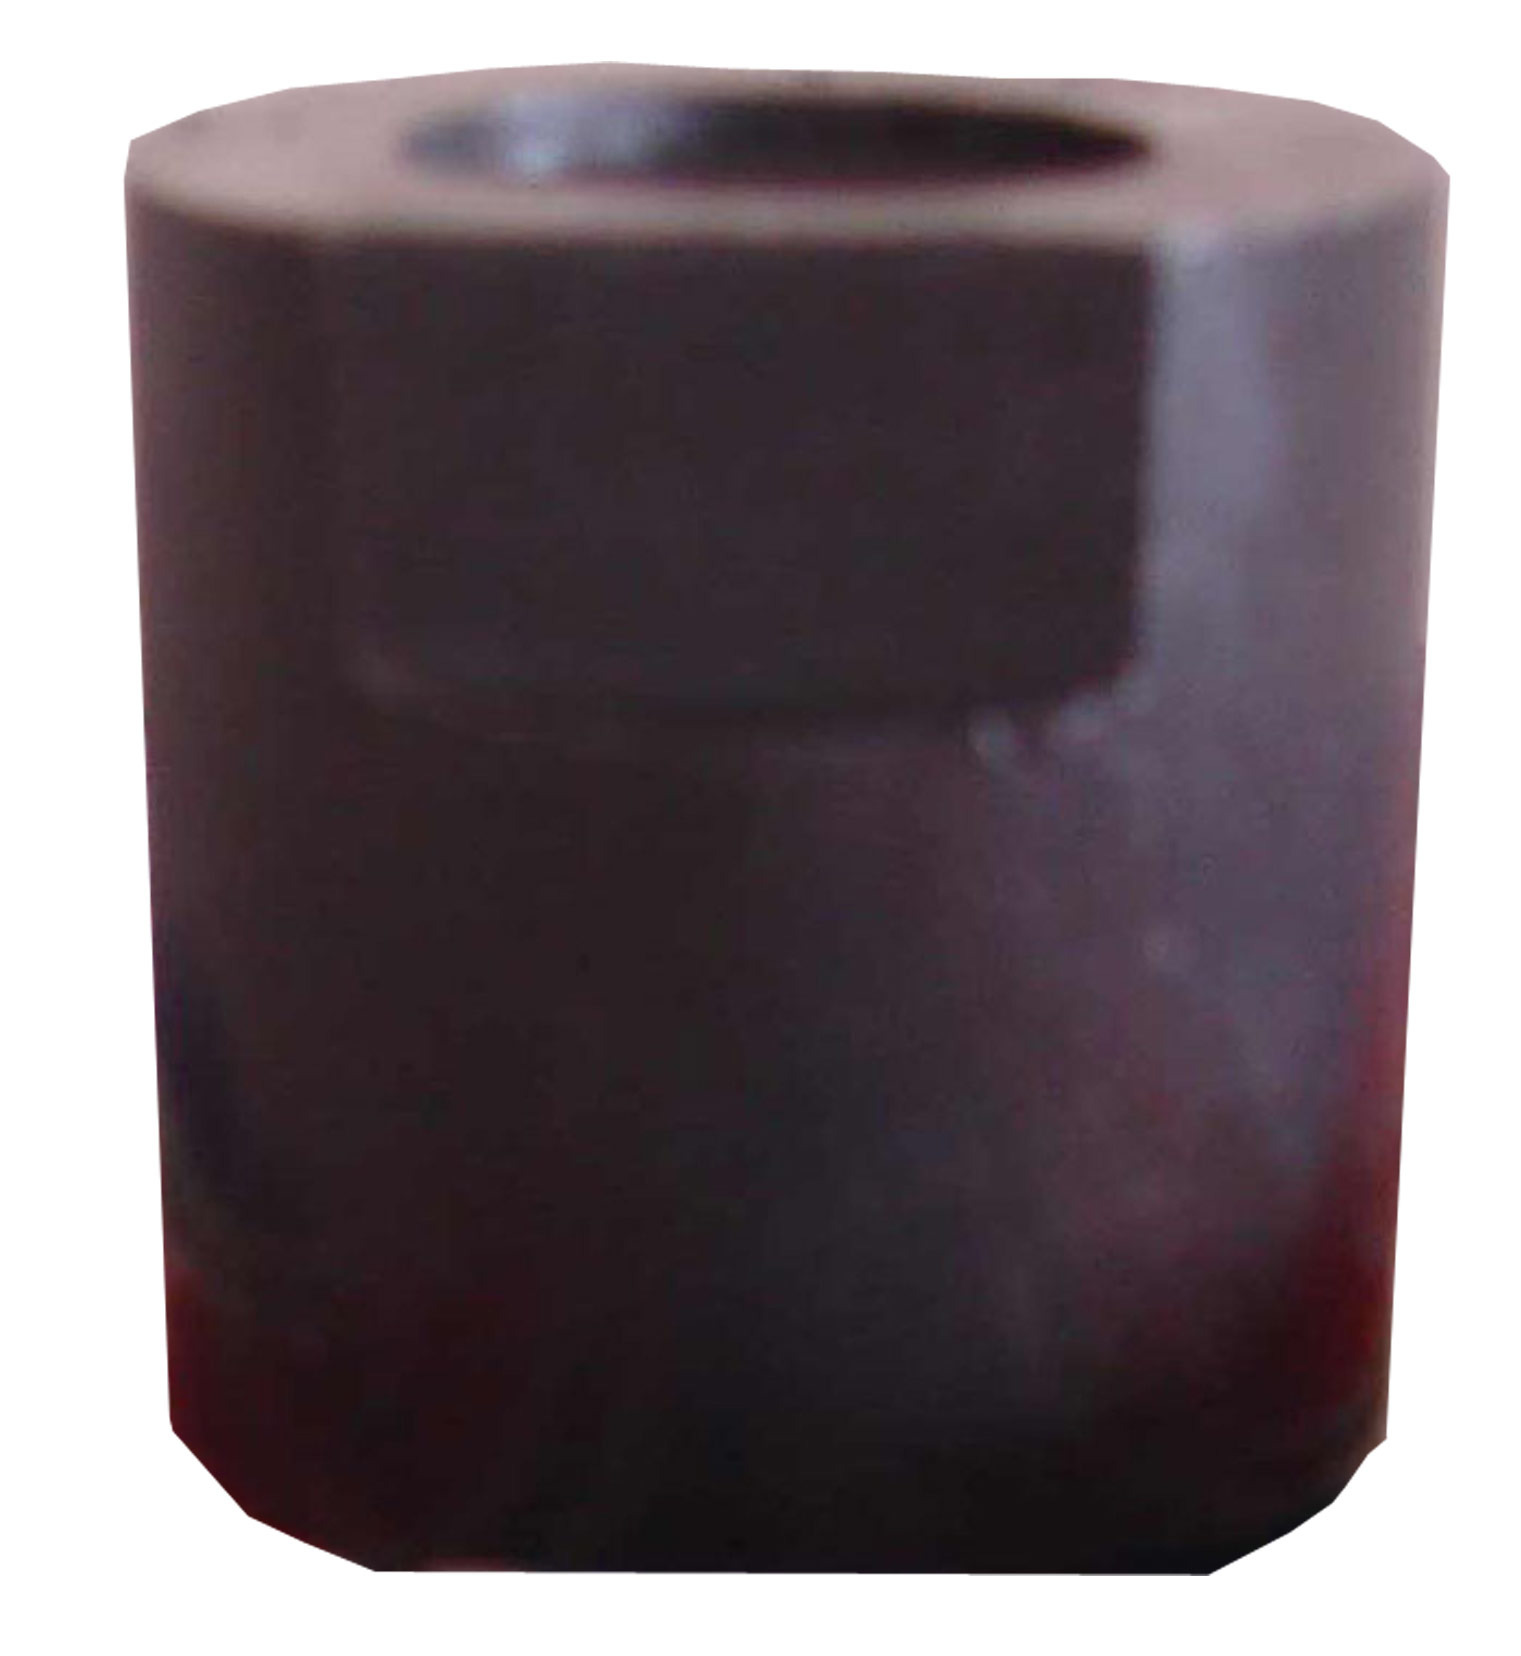
15.Trust Block 1A
15.Trust Block 1A
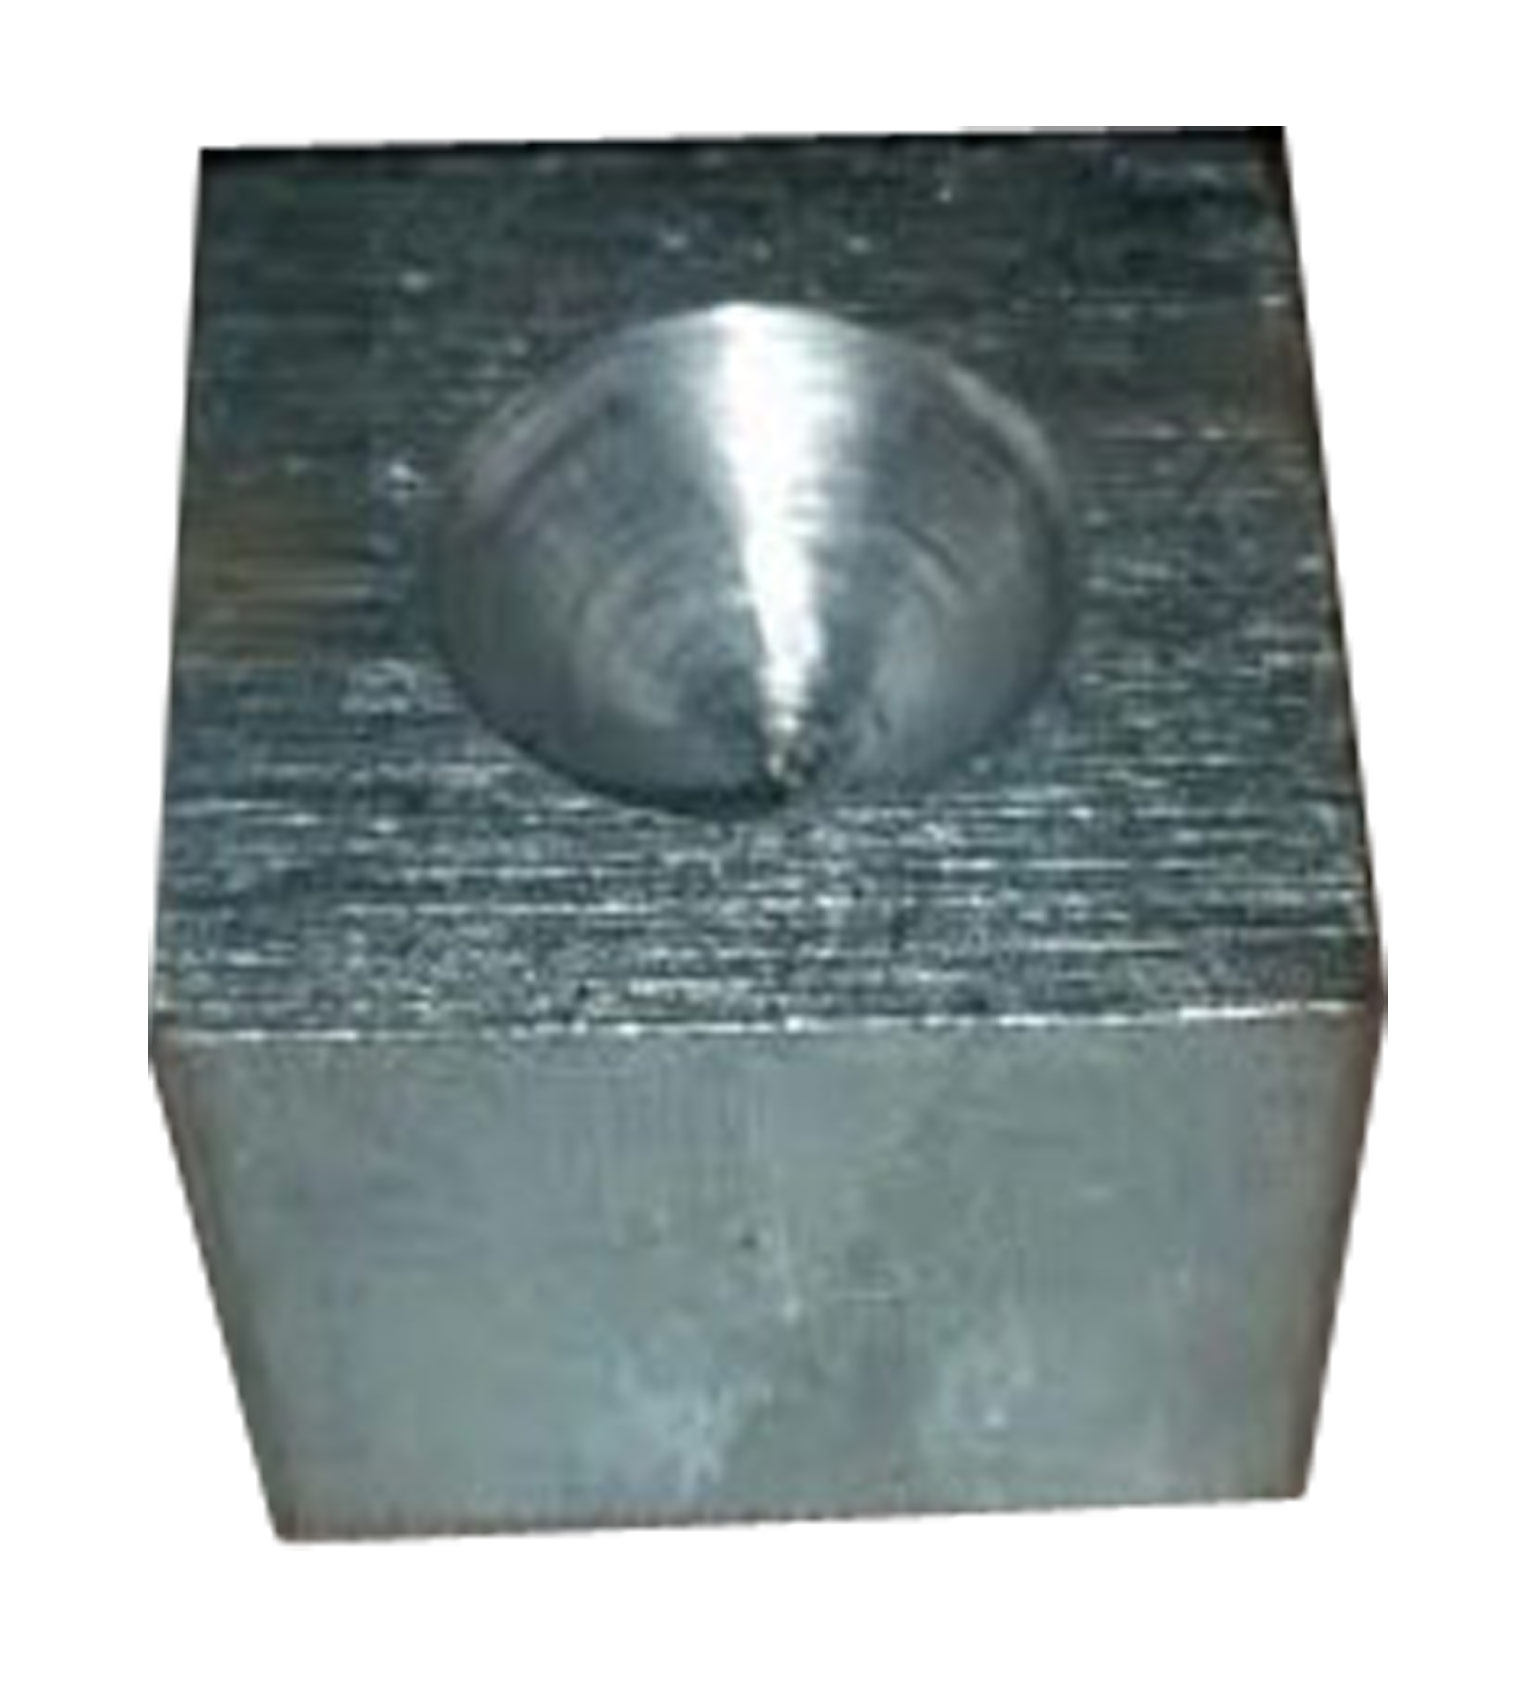
16.Trust Block 2A
16.Trust Block 2A
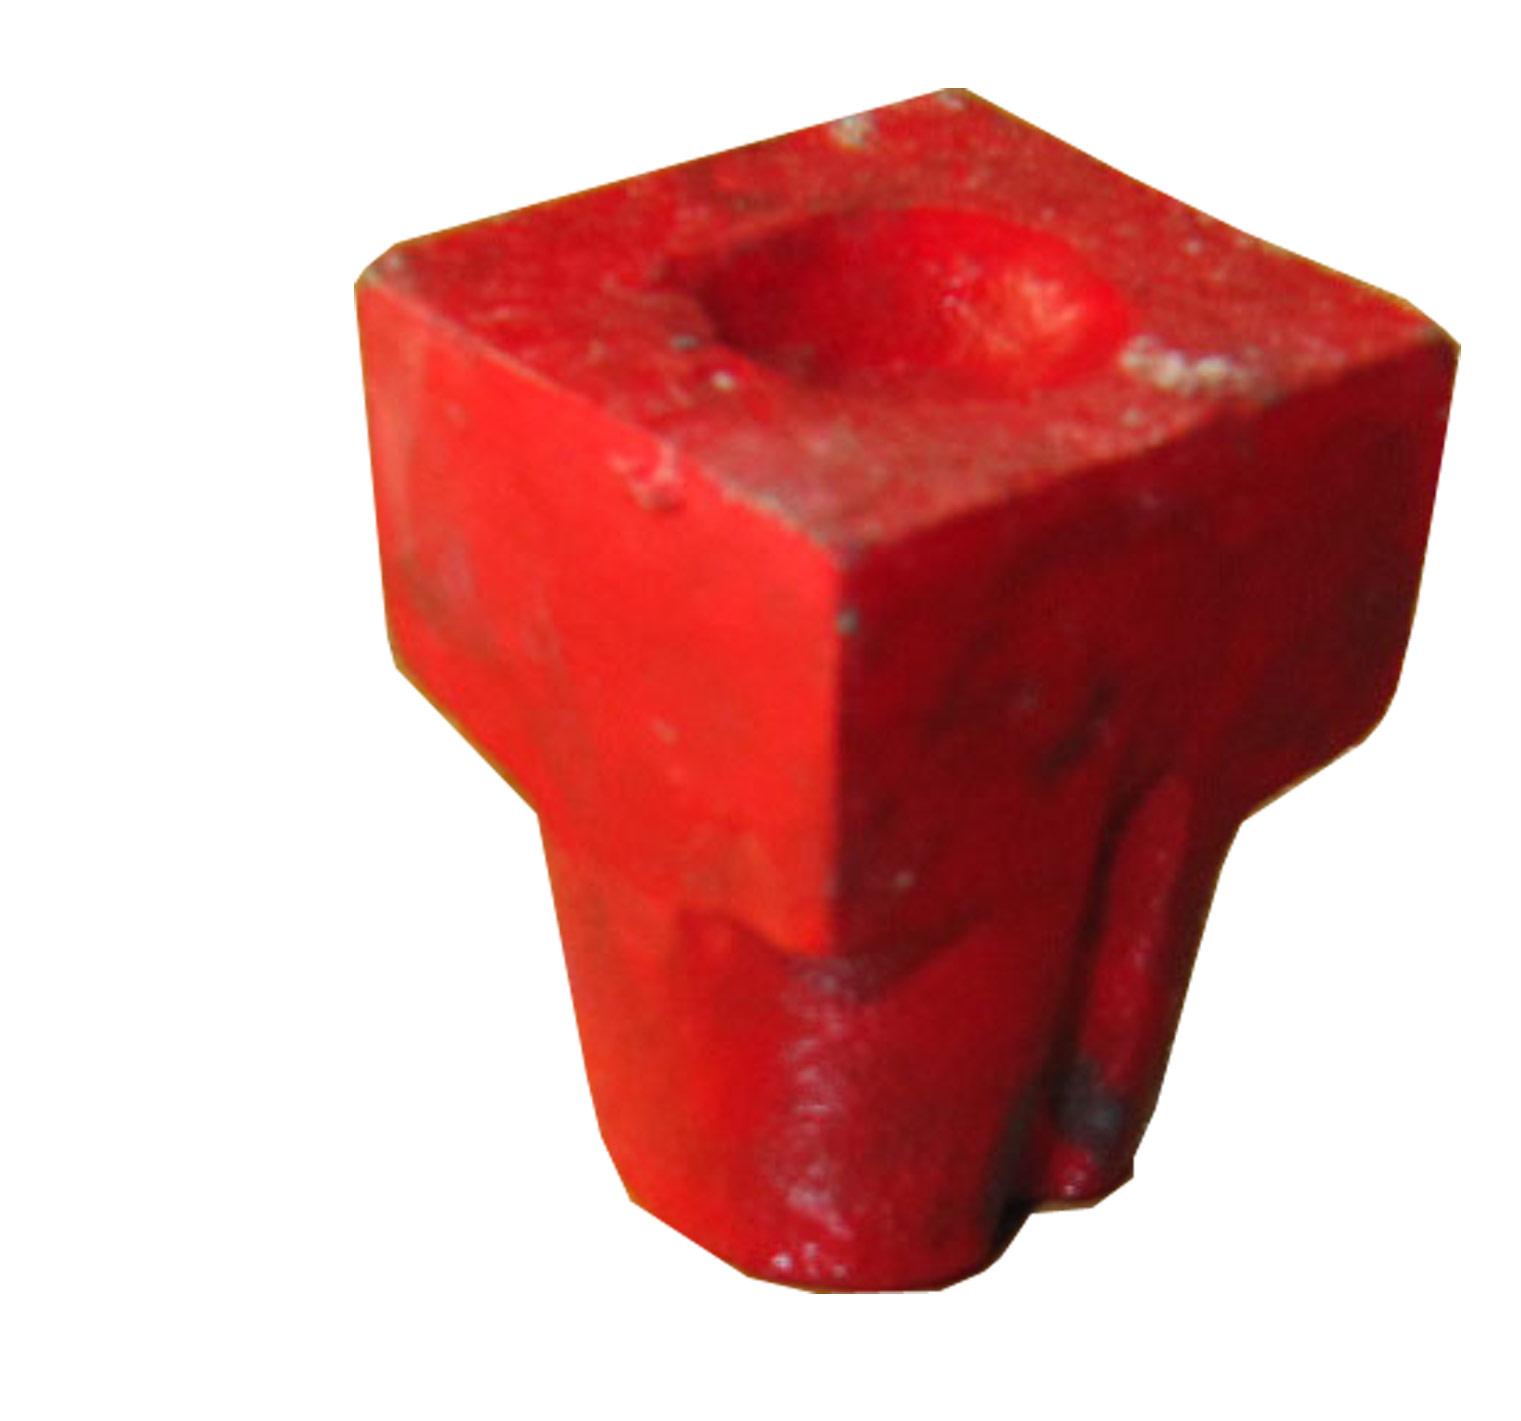
17.Toe Nut 1A & 2A
17.Toe Nut 1A & 2A
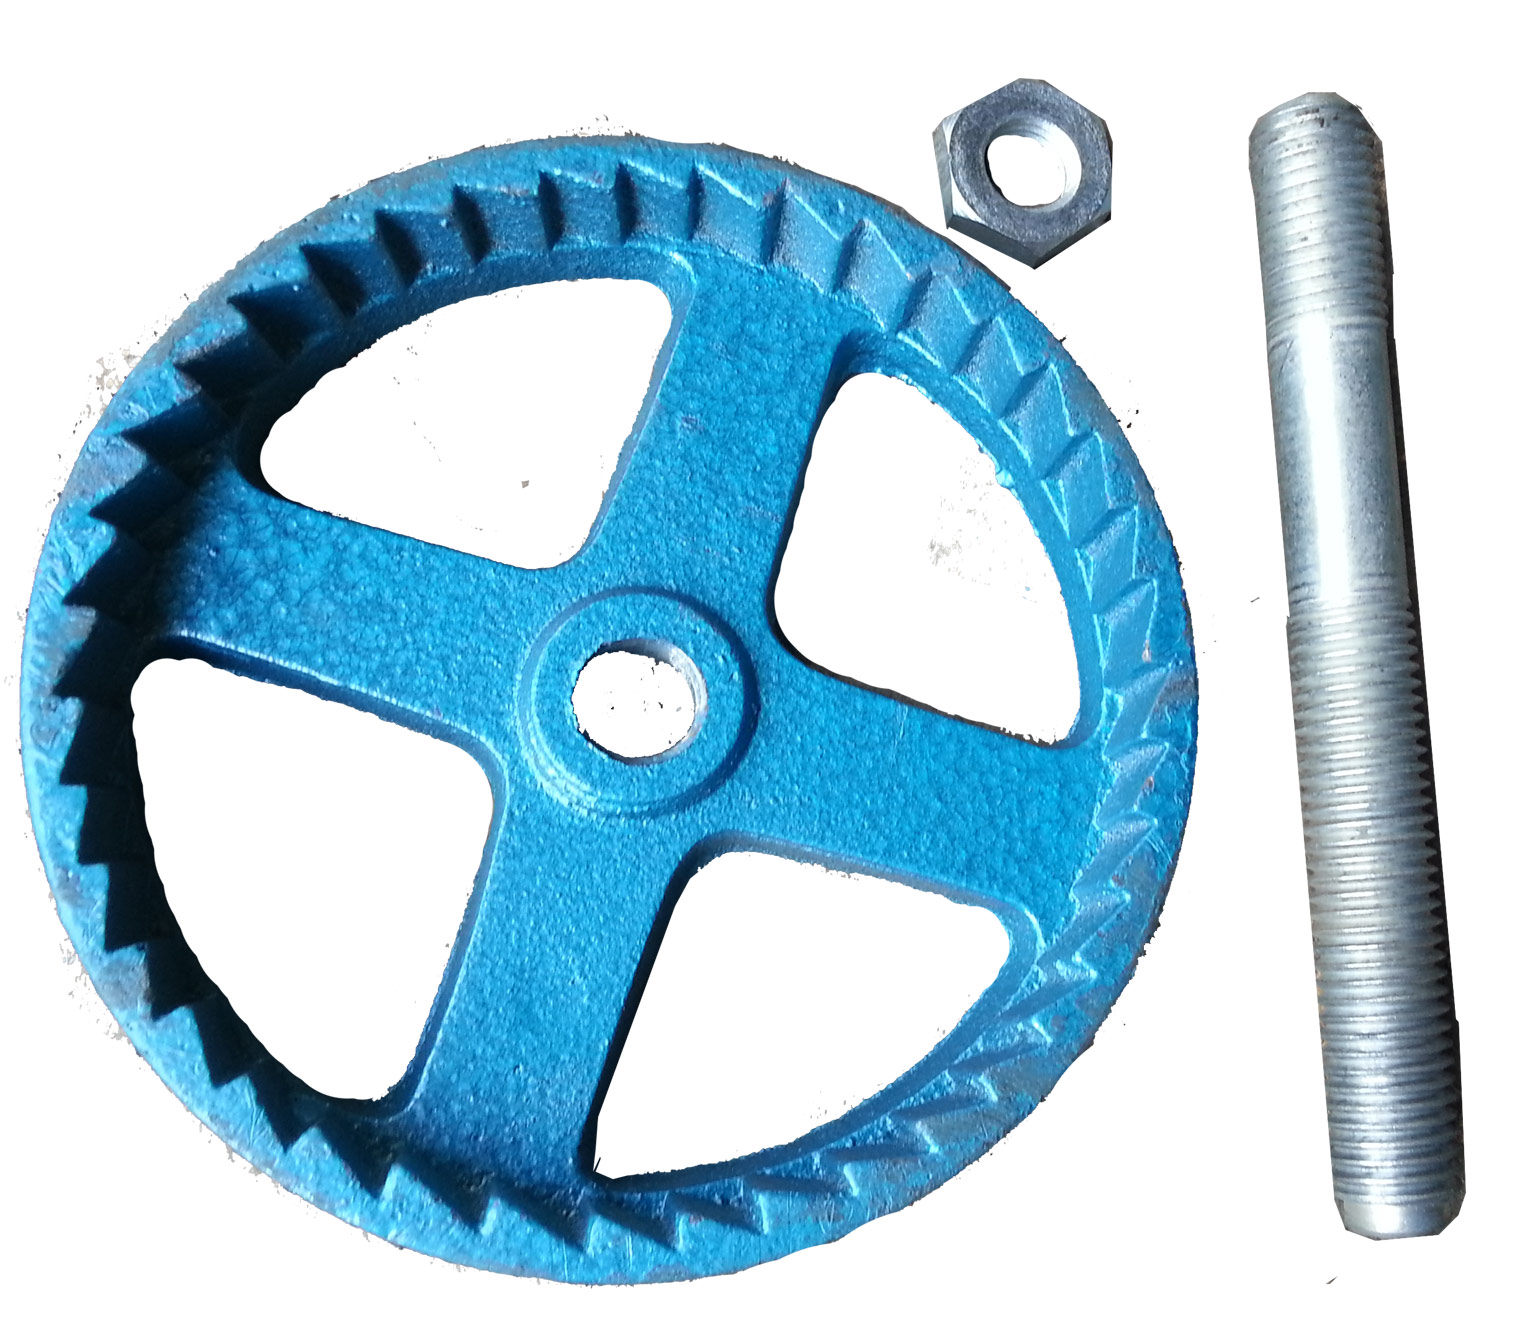
18.Regulating Wheel With Stud 1A
18.Regulating Wheel With Stud 1A
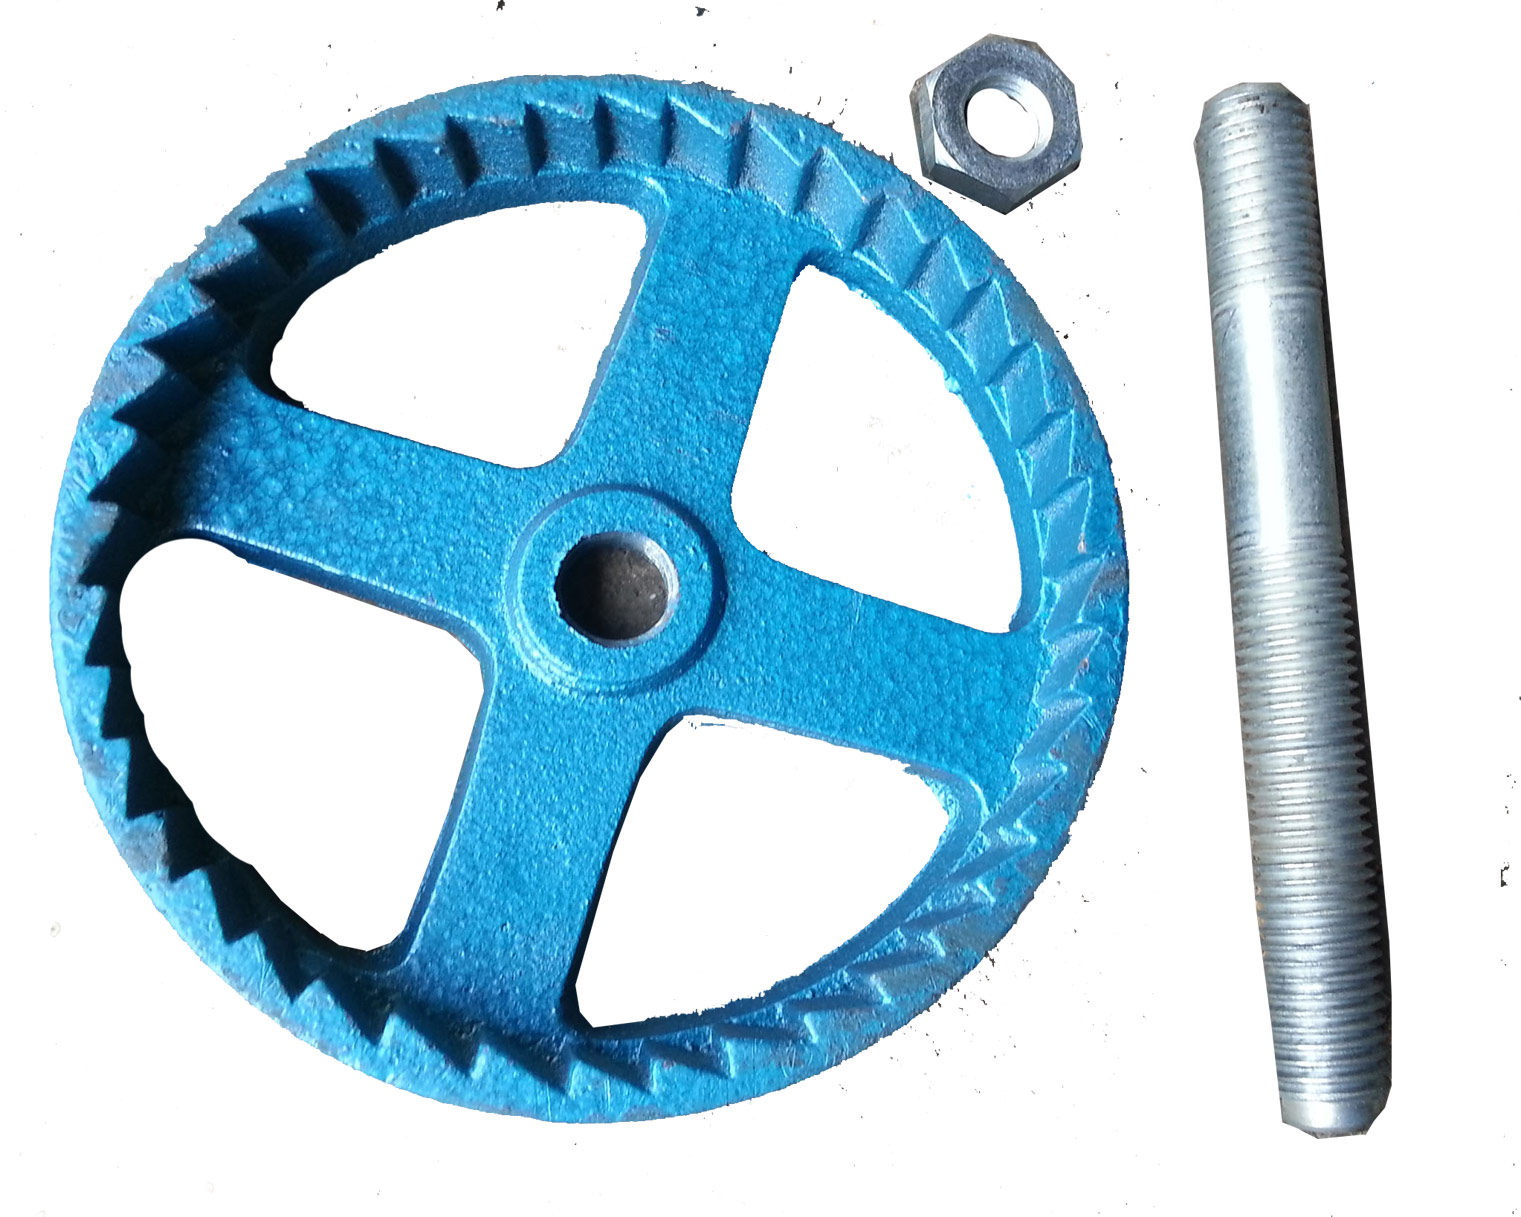
19.Regulating Wheel With Stud 2A
19.Regulating Wheel With Stud 2A
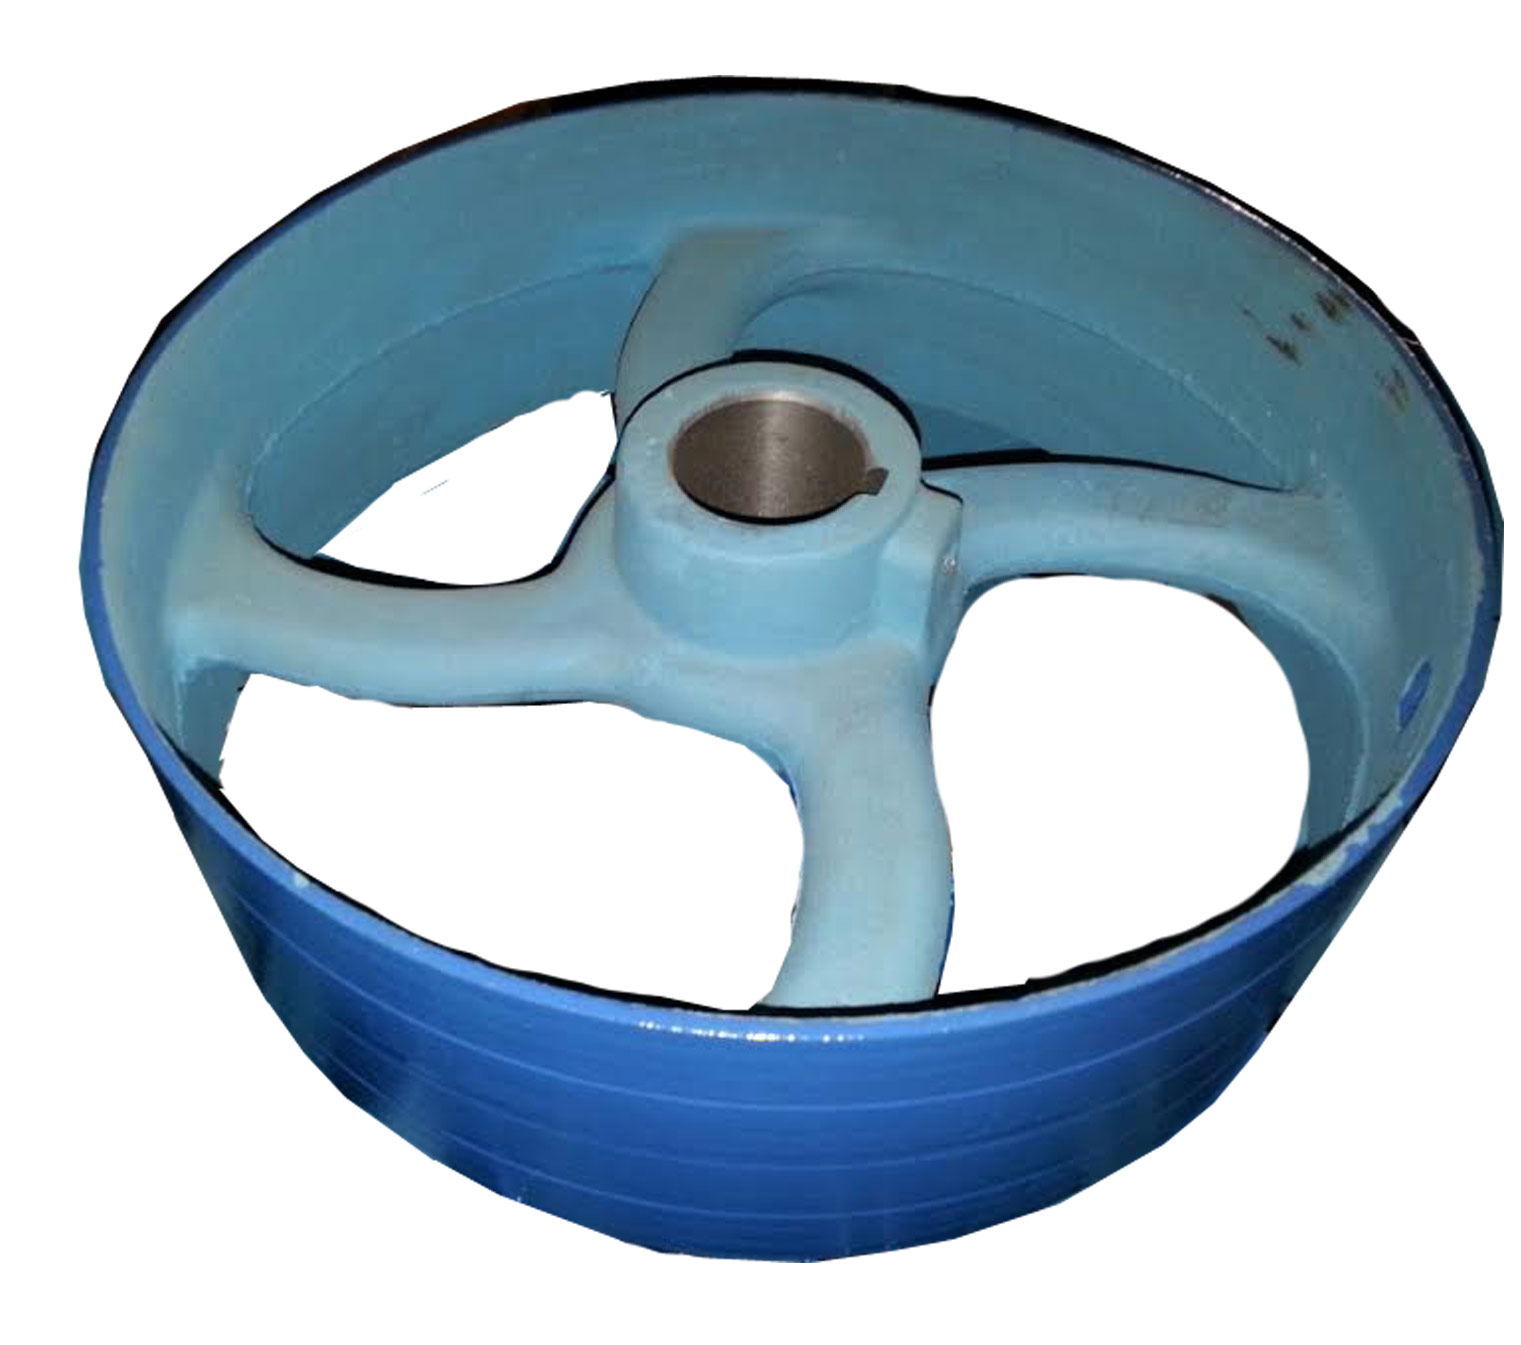
20.Driving Pulley 1A
20.Driving Pulley 1A
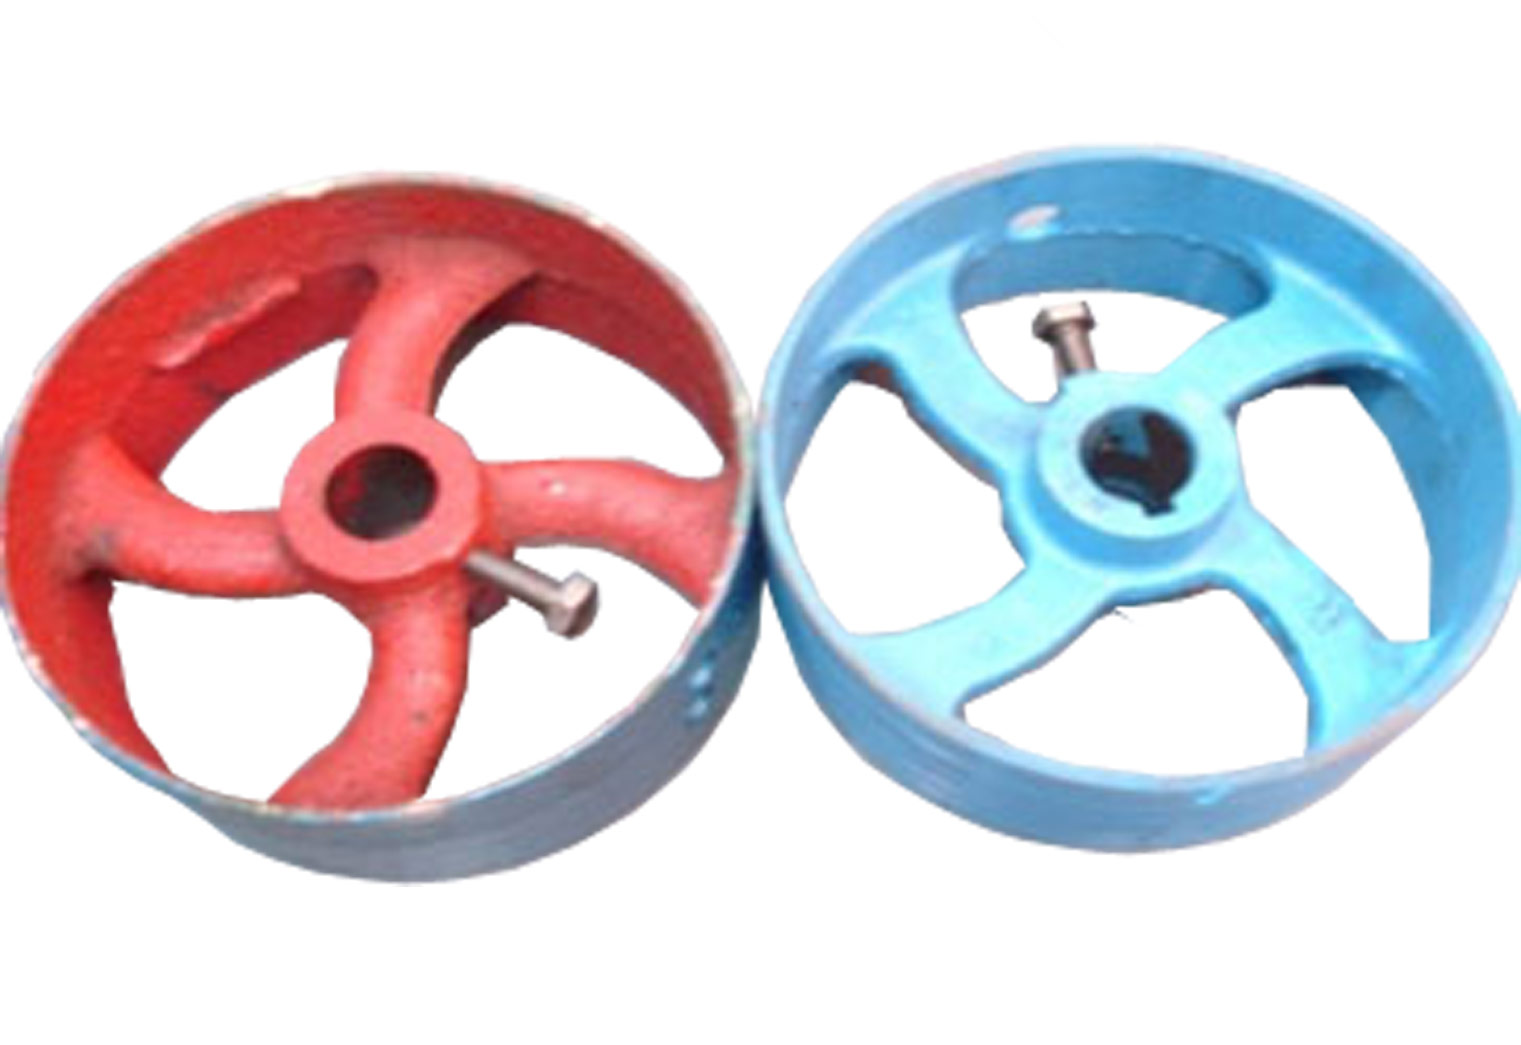
21.Driving Pulley 2A
21.Driving Pulley 2A
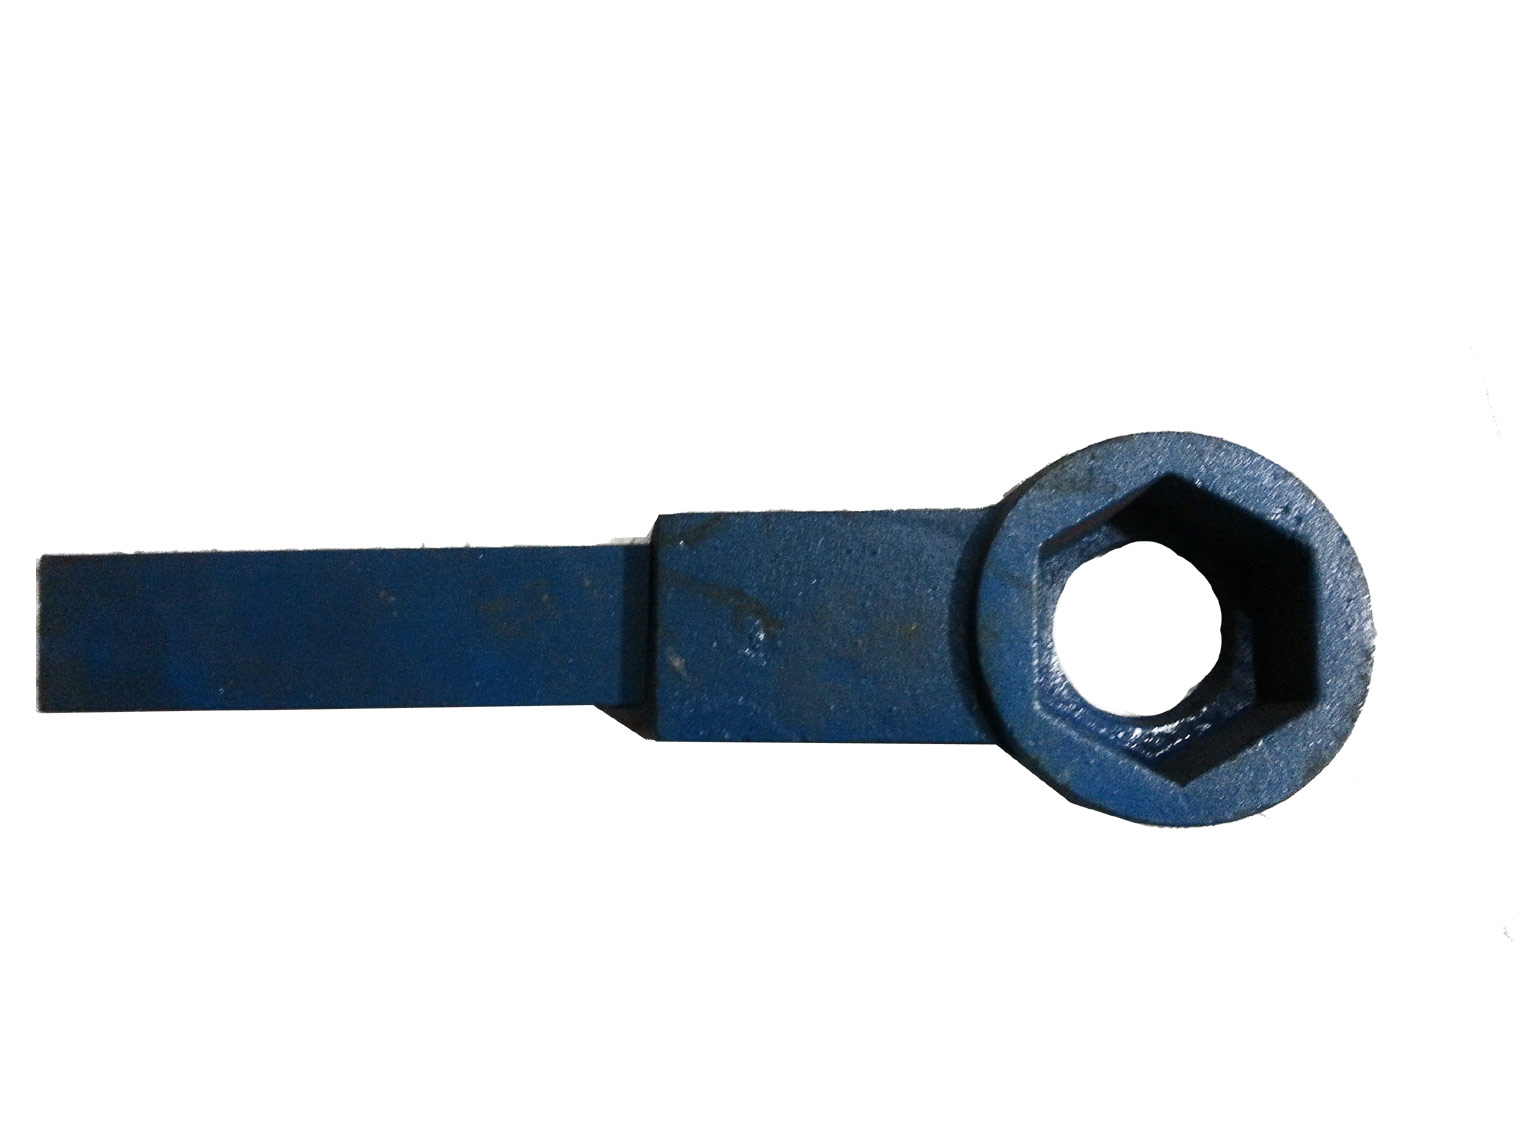
22.Spanner 1A
22.Spanner 1A
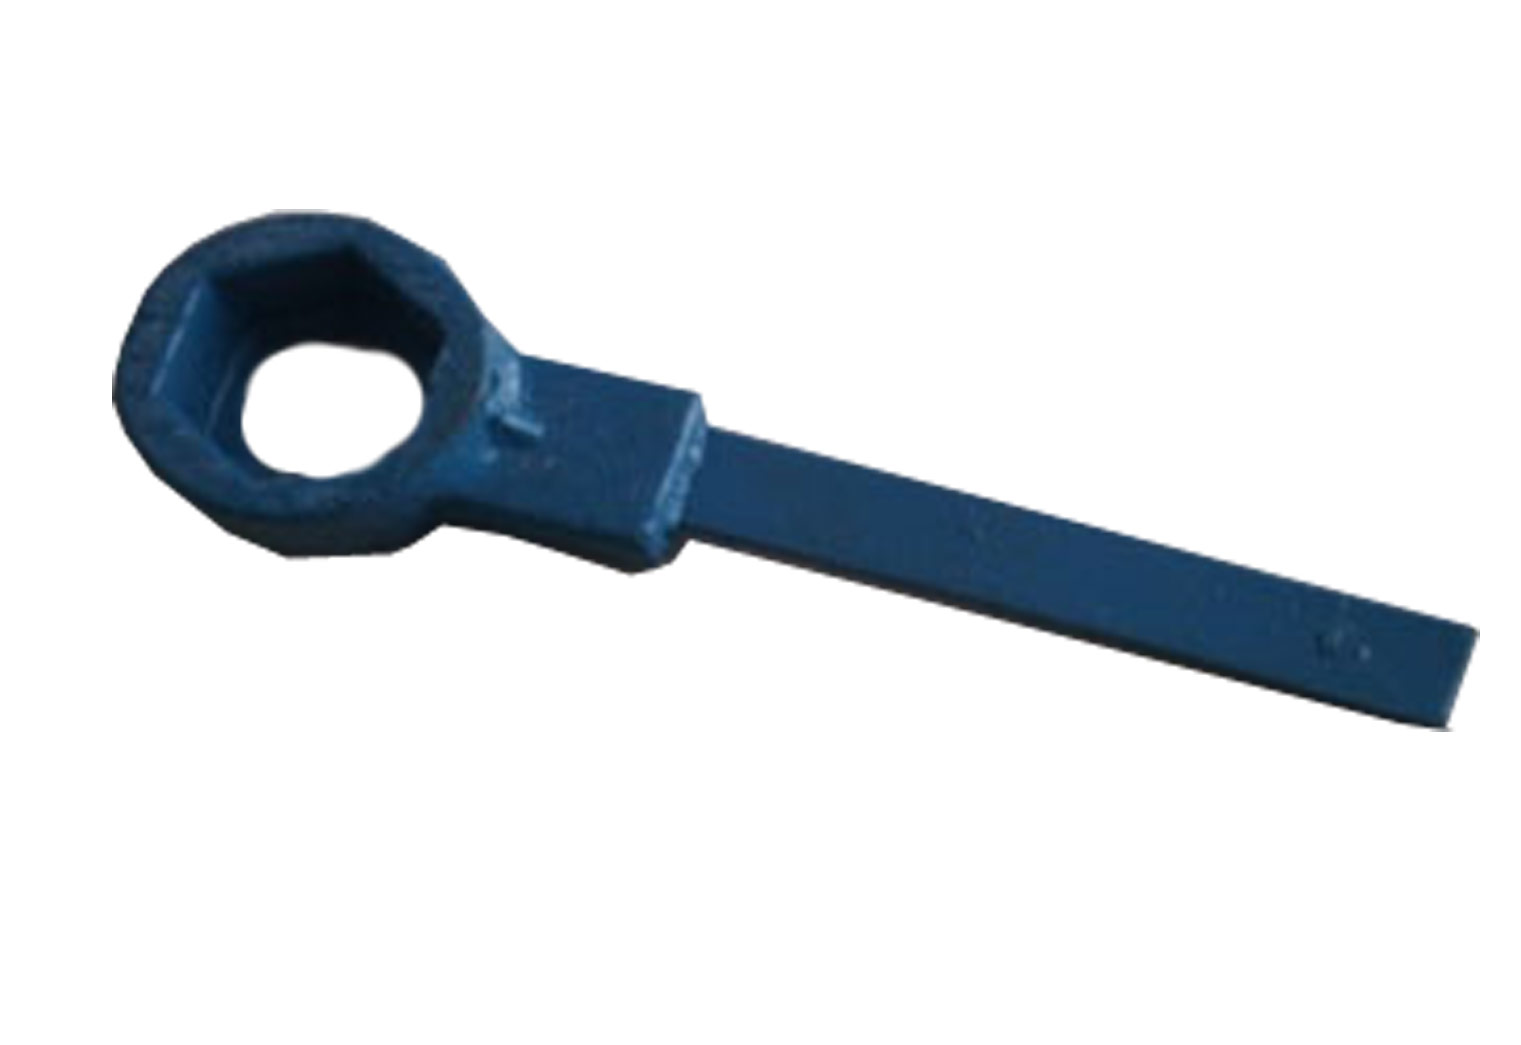
23.Spanner 2A
23.Spanner 2A
24.Click Holder 1A
24.Click Holder 1A

|